AI Movie Trailer Maker: Your Guide to Cinematic Videos
An AI movie trailer maker helps you turn a premise into a sequence of short, cinematic clips that can be edited into a trailer. The useful part is not a one-click finished movie. It is the speed at which you can test an establishing shot, a character reveal, a chase, and a final hook without staging every scene with a camera crew. You still decide what the trailer promises, which moments deserve screen time, and how picture, music, dialogue, and silence work together. A reliable workflow starts with a compact beat sheet, writes one prompt per shot, repeats a small continuity block, and saves the final pacing decisions for the edit. This guide walks through that process with a fictional coastal adventure as the running example, using SeedVideo AI for text-to-video and image-to-video scene creation.
TL;DR
- Write the trailer's promise in one sentence before you generate anything.
- Plan six to ten beats, then assign one clear visual job to each beat.
- Repeat the same character, wardrobe, world, and color details across prompts.
- Generate short shots with clean entrances and exits so the editor has options.
- Build tension with contrast: wide and close, loud and quiet, motion and stillness.
- Export a master cut, then make separate versions for each placement.
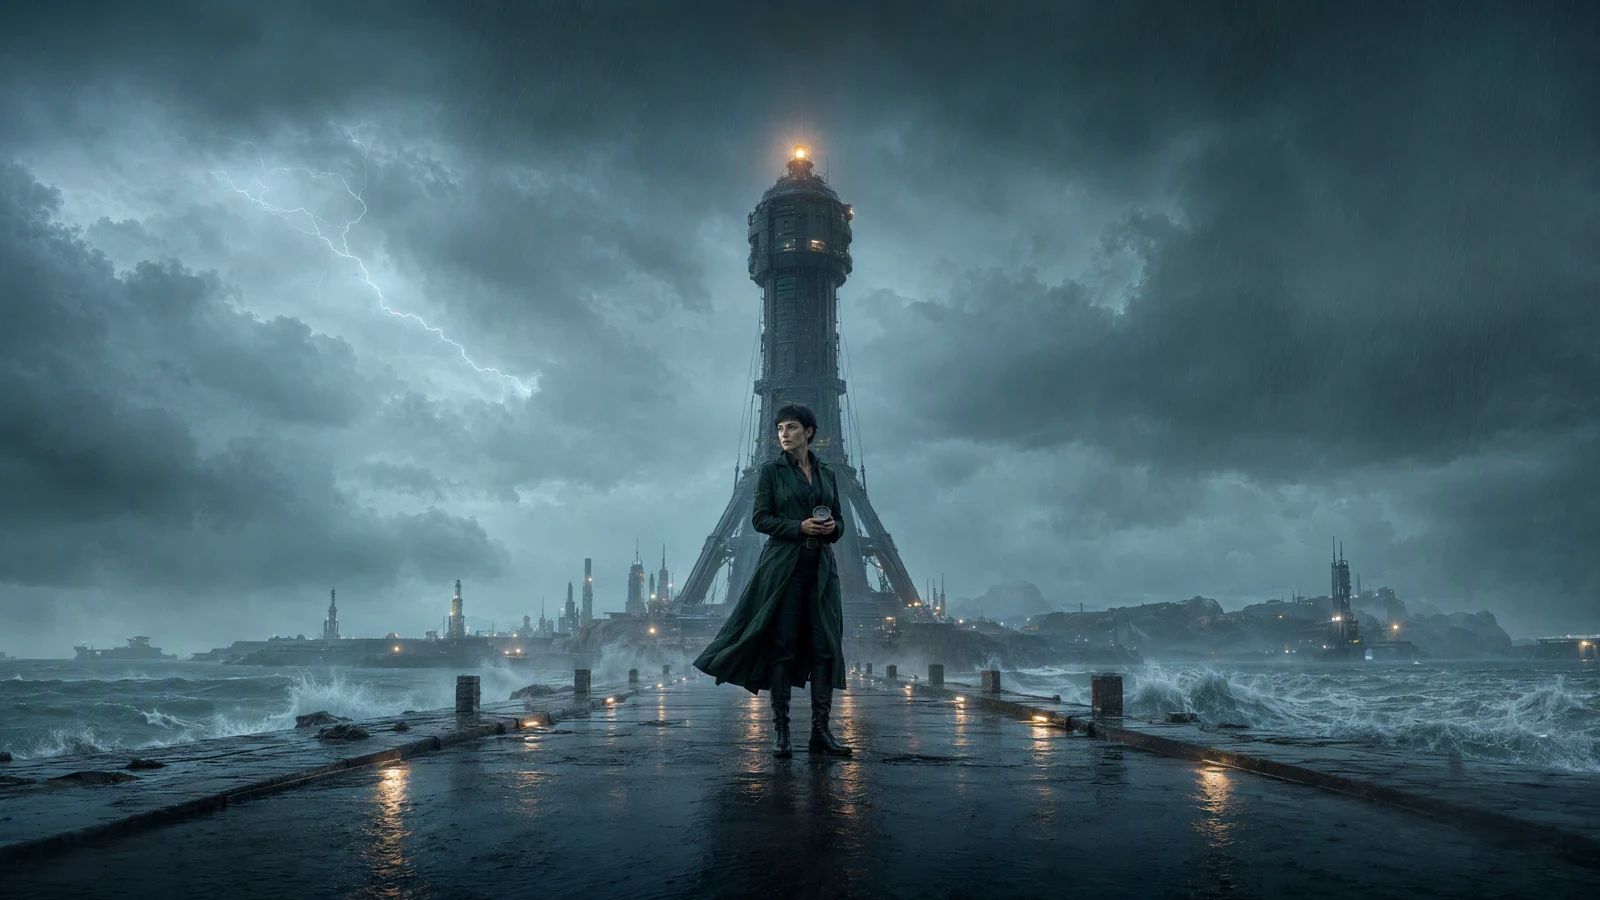
Video prompt: A fictional adult woman explorer with short black hair, a dark green trench coat, and a silver compass stands at the end of a storm-battered pier in a near-future harbor as a giant signal tower flickers to life across the water. Slow push-in, wind-driven rain and sea spray, teal-gray shadows with warm tower light, photoreal cinematic lighting, wide 2.39:1 frame, no text, no logo.
Quick Answer
To make an AI movie trailer, reduce the story to a promise and a short beat sheet. Turn each beat into a separate shot prompt with a subject, action, environment, camera instruction, lighting, and a repeated continuity block. Use an AI text-to-video generator for scenes that can begin from description alone. When the hero's face, wardrobe, prop, or framing needs tighter control, animate a trailer keyframe instead. Generate enough handles at the start and end of every shot, choose only the clips that belong to the same visual world, then cut them around music and sound. The trailer is made in the selection and edit, not in a single prompt.
What an AI movie trailer maker actually does
Most current AI video tools are best treated as shot makers. They can draft a rain-soaked harbor, a close-up under flickering light, or a camera move through an abandoned city. They do not know which reveal should arrive at second 18, when the music should drop out, or whether the audience needs one more quiet look at the lead character before the chase begins.
The generator gives you raw scene options. You give those scenes dramatic order. This also keeps the project manageable: you can replace one weak shot without rebuilding the entire trailer, or test a different opening while keeping the middle intact.
SeedVideo AI currently exposes text-to-video and image-to-video workflows, along with aspect ratio, duration, resolution, sound, and advanced controls in the generator interface. Free credits are offered at sign-up, so a new user can check whether the workflow and output style fit before choosing a paid option. Credit use varies by model and settings. Check the current Seedance pricing and usage options before planning a larger batch.
Generation supplies footage. Editorial judgment makes it a trailer. Your first document should be a beat sheet, not a page of unrelated visual prompts.
Build the trailer before you build the shots
A trailer is a promise about the experience of a story. It does not need to explain every plot turn. It needs to establish a world, introduce a reason to care, increase pressure, and leave the viewer with a question or image that sticks.
Start by finishing this sentence:
This is a story about [person] who must [goal] before [pressure], or else [stakes].
Try this prompt in SeedVideo AI
For the running example:
This is a story about a coastal explorer who must decode a forgotten signal before a storm destroys the last safe harbor.
Try this prompt in SeedVideo AI
That line gives every generated shot a test. A beautiful frame that does not help the explorer, signal, storm, harbor, or stakes is probably decoration. Cut it from the plan before it consumes time.
Turn the premise into a beat sheet
Keep the first beat sheet short. Six to ten moments are enough for a trailer draft. Describe the emotional job of each beat before describing the image.
| Beat | Emotional job | Visual job | Sound idea |
|---|---|---|---|
| 1. World | Establish scale and mood | Storm over the future harbor | Wind, low horn, distant radio noise |
| 2. Arrival | Put the lead inside the world | Explorer enters an abandoned city | Footsteps and sparse pulse |
| 3. Connection | Let the audience read the lead | Rainy close-up with the compass | Breath, fabric, one clear tone |
| 4. Discovery | Introduce the object or clue | Device opens in an underground archive | Mechanical click and rising texture |
| 5. Pressure | Turn curiosity into danger | Drones pursue the explorer through a market | Faster rhythm and broken announcements |
| 6. Climax | Show the largest physical risk | Signal tower collapses above the sea | Music hit, metal strain, then silence |
| 7. Hook | Leave an unresolved image | Dawn coast and compass | One final signal pulse |
This table is not a storyboard. It is a decision filter. The same beat can support several camera ideas, but each selected shot should have one main job.
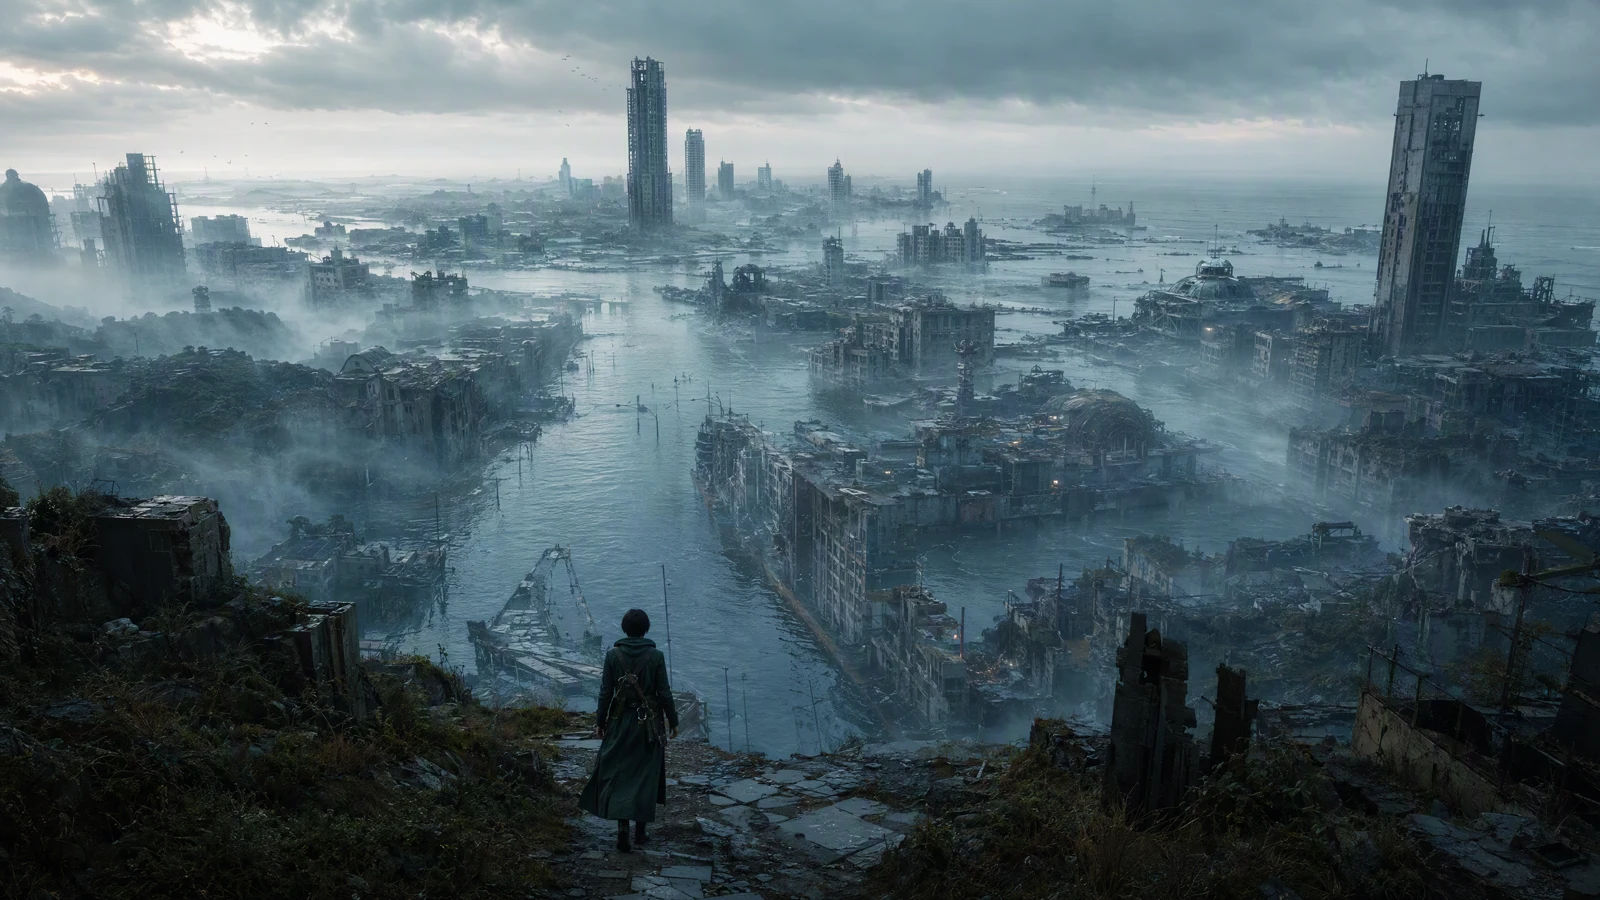
Video prompt: The same explorer enters an abandoned coastal city, kept small in the lower third while flooded streets and broken towers fill the frame. Ultra-wide shot with a slow crane forward, sea mist moving between buildings, muted teal-gray grade, soft dawn backlight, photoreal production design, 2.39:1 composition, no text, no logo.
Decide length after the beats exist
Do not start with "I need a 60-second trailer" and stretch the idea to fill it. Count the beats, estimate how long each one needs to register, and leave room for titles, dialogue, and sound transitions. A seven-beat concept may work as a tight teaser. A longer trailer can hold more character and context, but extra time does not excuse repeated shots.
Draft three cuts on paper:
- A short hook that reaches the premise quickly.
- A main trailer that gives the world, lead, escalation, and final sting room to breathe.
- A vertical cutdown built around one reveal rather than a compressed copy of everything.
These versions can share footage. Their pacing and shot order should not be identical.
Write prompts as a connected sequence
A useful trailer prompt describes what the camera can see. It should name the subject, visible action, environment, framing or movement, light, and visual finish. It should also repeat the details that must survive across scenes.
Use this working pattern:
[Recurring character and wardrobe]. [Visible action] in [specific environment]. [Shot size and camera movement]. [Lighting and color]. [Composition and physical detail].
Try this prompt in SeedVideo AI
For example:
Original adult woman explorer, short black hair, deep green trench coat, silver compass. She opens a glowing mechanical device in a flooded underground archive. Medium over-shoulder shot with a slow push-in. Amber device light on her face against blue-gray stone and corroded shelves. Natural skin texture, wet fabric, restrained film grain.
Try this prompt in SeedVideo AI
The prompt gives the shot one event. It also gives the next prompt reusable anchors. If every scene describes the lead in a new way, the model has to invent her again.
Build a continuity block
Create a short paragraph that stays the same across the batch. Keep it factual and visual:
- Character: age range, face shape, hair, one readable wardrobe item.
- Prop: one object with stable material, color, and scale.
- World: era, architecture, weather, and production design.
- Grade: a narrow color relationship, such as teal-gray environments with warm practical lights.
- Camera: the overall photographic language, not the exact move for every shot.
The recurring block should be compact enough to paste without burying the action. Four specific details repeated accurately are more useful than a page of shifting adjectives.
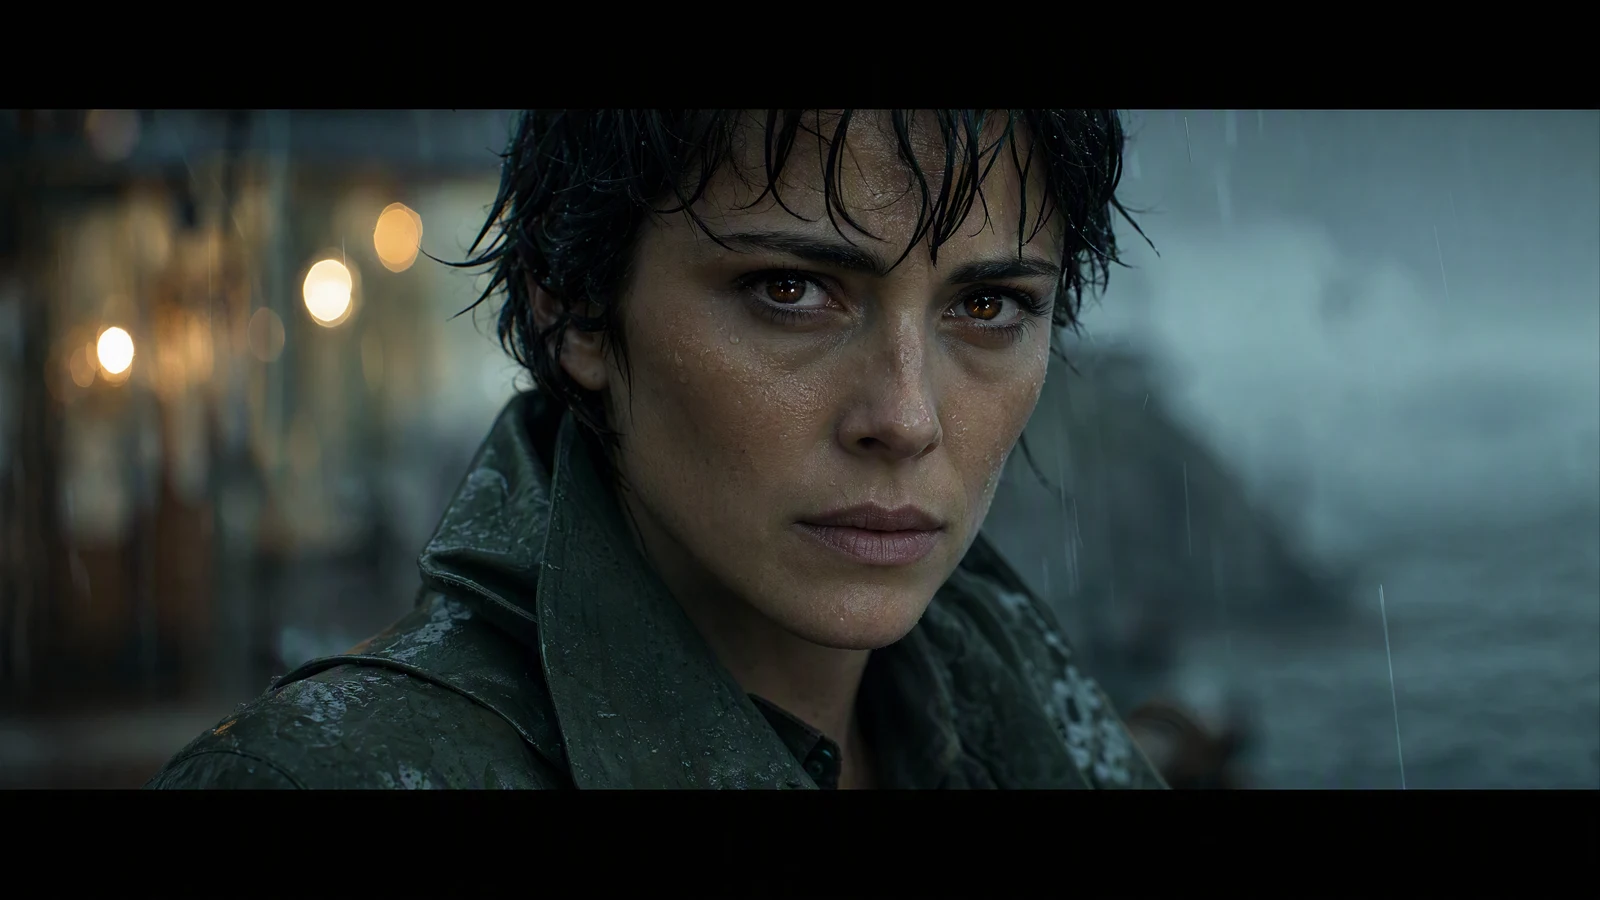
Video prompt: Close-up of the same explorer in heavy rain, short black hair stuck to her face, dark green coat collar visible, silver compass held near the bottom of the frame as its warm light reflects in her eyes. Very slow push-in, shallow depth of field, natural skin texture, tense restrained expression, cool rain with warm eye light, photoreal cinematic finish, no text, no logo.
Give every shot a clean camera instruction
Camera language should support the beat. Use a wide locked frame when the audience needs geography. Use a controlled push-in when a discovery should feel increasingly important. Use lateral tracking for pursuit because it keeps the subject readable while the background carries speed.
Avoid combining incompatible directions in one prompt. "Locked tripod, handheld shake, smooth drone orbit, rapid zoom" asks for four different shots. Pick one primary move and one framing instruction. If you need alternatives, generate separate prompts and compare them in the edit.
The AI video camera movement prompt guide has reusable language for tracking, dolly, crane, orbit, and rack-focus shots. Apply one move to a beat, then judge whether it improves the story rather than merely making the frame busier.
Write a batch, not a chain of improvisations
Finish the prompt set before generating the first scene. Reading all prompts together exposes continuity drift early: the coat changes color, the device becomes a map, the harbor becomes a desert, or the climax introduces a new villain that the beat sheet never prepared.
Batch writing also lets you vary shot scale on purpose. One sequence might move through wide, wide, close, medium, tracking, extreme wide, and medium-wide frames. The editor gets useful contrast before any music is added.
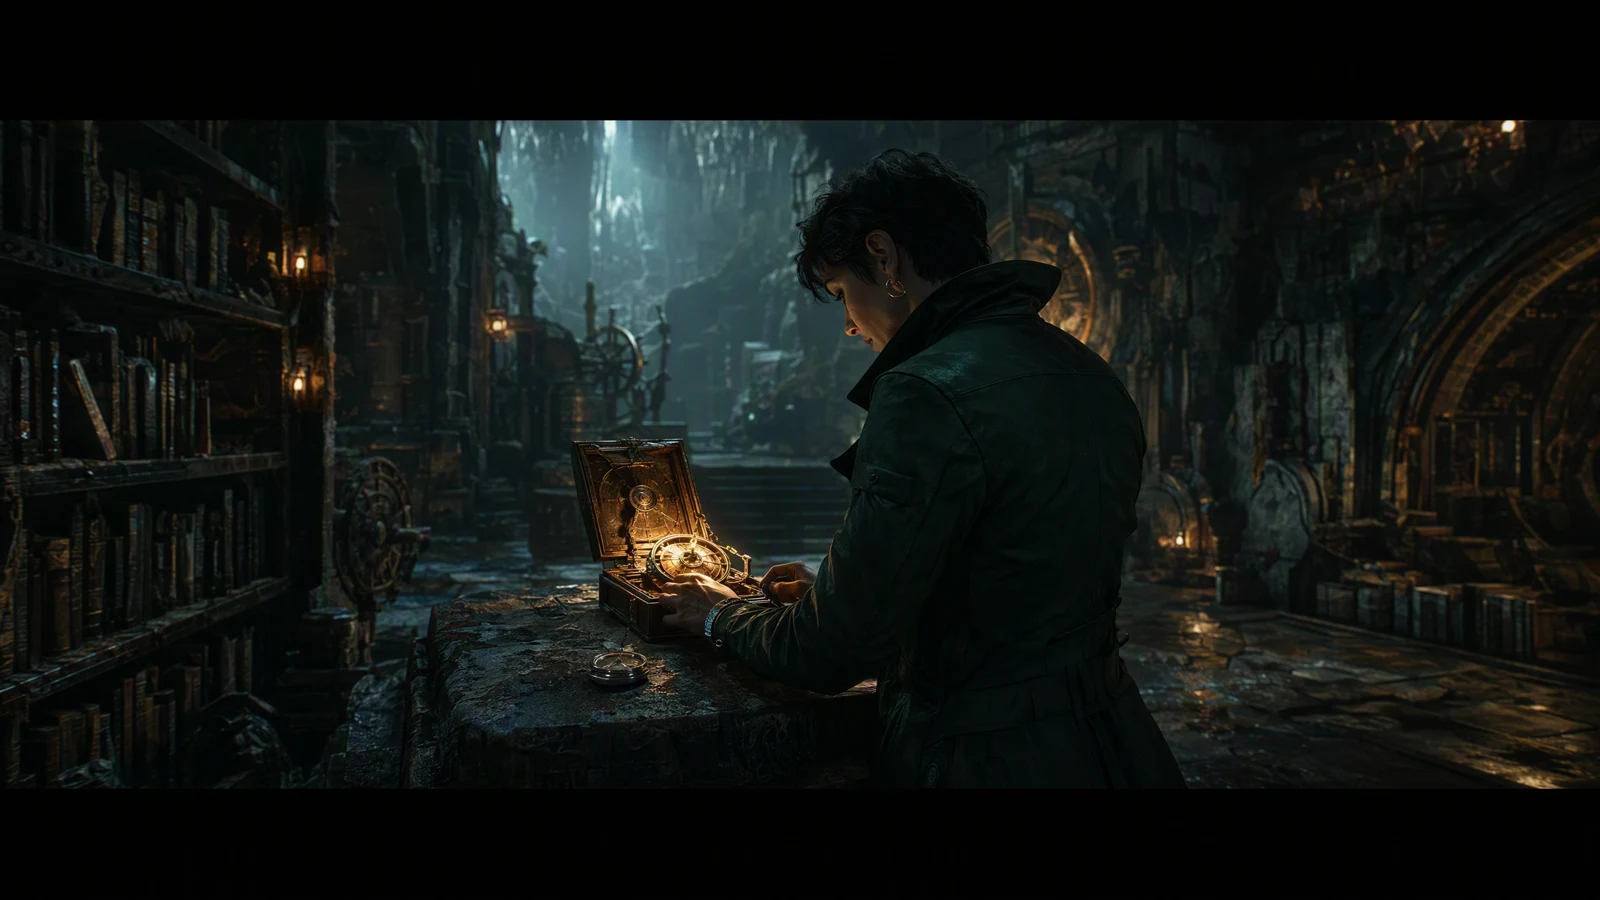
Video prompt: The same explorer opens a glowing mechanical device inside a cold underground archive, one hand still holding her silver compass as amber light spreads across her face and dusty shelves. Controlled dolly-in, drifting dust, teal-gray room with warm practical light, centered medium shot, photoreal cinematic detail, no text, no logo.
How to make an AI movie trailer in SeedVideo AI
The current SeedVideo AI workspace separates text-to-video, image-to-video, and video-to-video modes. For a concept trailer, text-to-video is useful for broad environmental shots and new action. Image-to-video is useful when you already have a selected character frame, product shot, or composition that should anchor the motion.
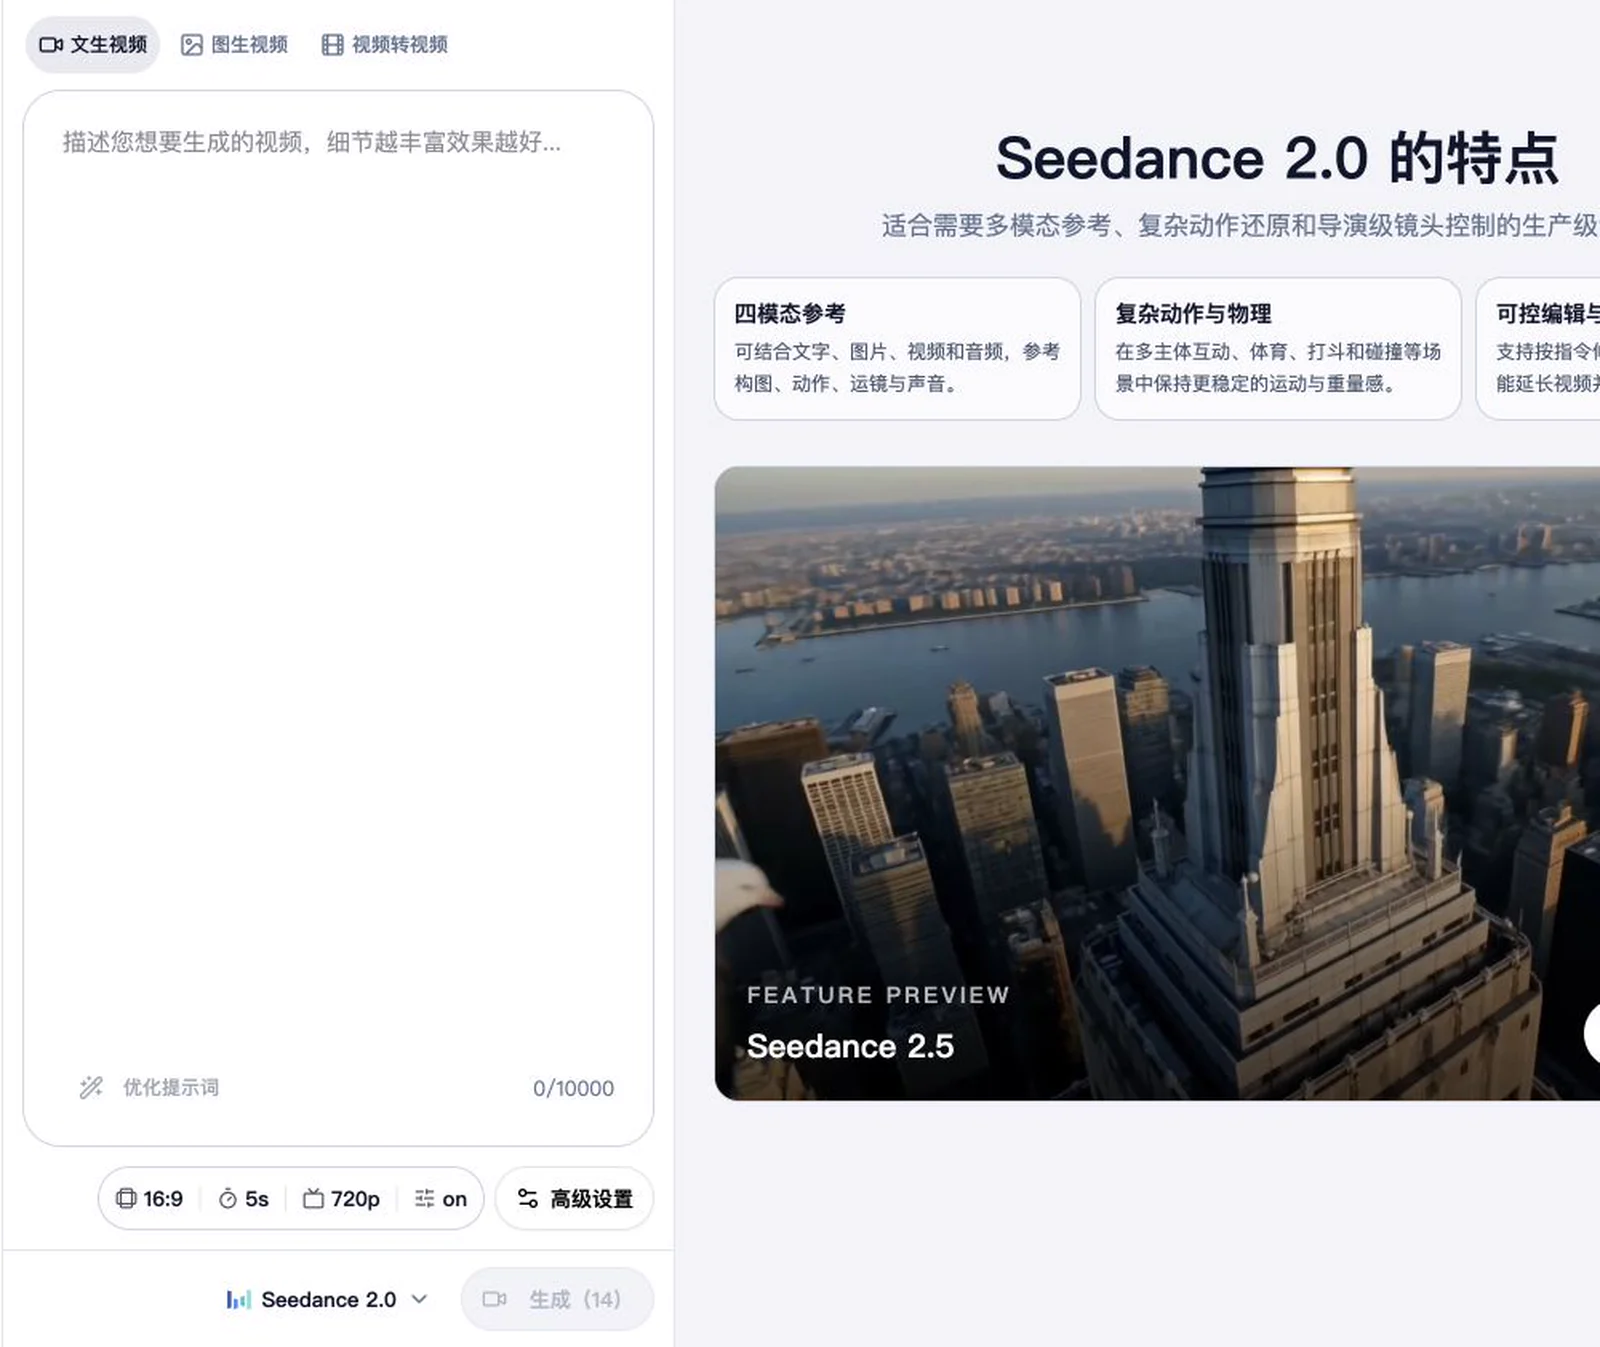
Current SeedVideo AI generator interface: the left workspace groups the prompt and shot settings used to prepare a trailer clip.
- Open the AI video generator and choose Text to Video for the first establishing shot.
- Paste one shot prompt, not the whole trailer outline. Confirm that it describes a single visible event.
- Choose the aspect ratio for the master cut. A landscape frame is the usual starting point for a cinematic trailer, while vertical versions should be planned as separate compositions.
- Set duration and resolution according to the shot's job and the model options shown in the current workspace.
- Review sound and advanced controls. Use them only when they support the shot rather than adding complexity to every generation.
- Select the model and check the displayed credit cost before generating.
- For a shot that must preserve a chosen face or composition, switch to the AI image-to-video generator, upload the approved keyframe, and describe the motion that should happen after that frame.
- Save only the strongest takes to the edit. Record the prompt, model, settings, and reason for choosing each clip so a replacement can be generated later.
The interface lets you choose the input mode and shot settings, but it does not replace the beat sheet. Keep a simple production table outside the generator:
| Shot ID | Beat | Mode | Required continuity | Intended edit point | Status |
|---|---|---|---|---|---|
| A01 | World | Text to Video | Harbor, storm, signal tower | Open on distant beacon | Select |
| A02 | Arrival | Text to Video | Green coat, compass, ruined city | Cut on first footstep | Select |
| B01 | Connection | Image to Video | Approved face and rain portrait | Hold through eye movement | Review |
| C01 | Discovery | Image to Video | Device, archive, amber light | Cut on device opening | Review |
This small log prevents a folder full of visually interesting clips from becoming impossible to edit.
Keep characters and worlds consistent
Character consistency is partly a generation problem and partly a selection problem. Repeated descriptions and reference images help, but the editor still needs to reject clips that break the visual identity. A take can be impressive by itself and wrong for the sequence.
Choose one identity frame
Select a clean image where the face, hair, coat, and recurring prop are readable. Treat it as the identity frame for later image-to-video shots. If a scene needs a different angle, create a small set of approved keyframes before animation rather than accepting the first new face that appears.
Keep the identity definition visible in the production table. "Woman in coat" is too loose. "Original adult woman, short black hair, deep forest-green trench coat, silver compass" is short and testable.
Separate stable details from scene details
Stable details repeat. Scene details change.
| Stable across the trailer | Changes by shot |
|---|---|
| Character face, hair, age range | Expression and eyeline |
| Green trench coat and compass | Pose and visible wear |
| Near-future coastal world | Harbor, archive, market, tower |
| Teal-gray grade with warm lights | Time of day and local light source |
| Photoreal cinematic finish | Lens, framing, and camera motion |
If the scene prompt changes a stable detail, make that change deliberate and explain it in the story. Otherwise the viewer reads it as drift.
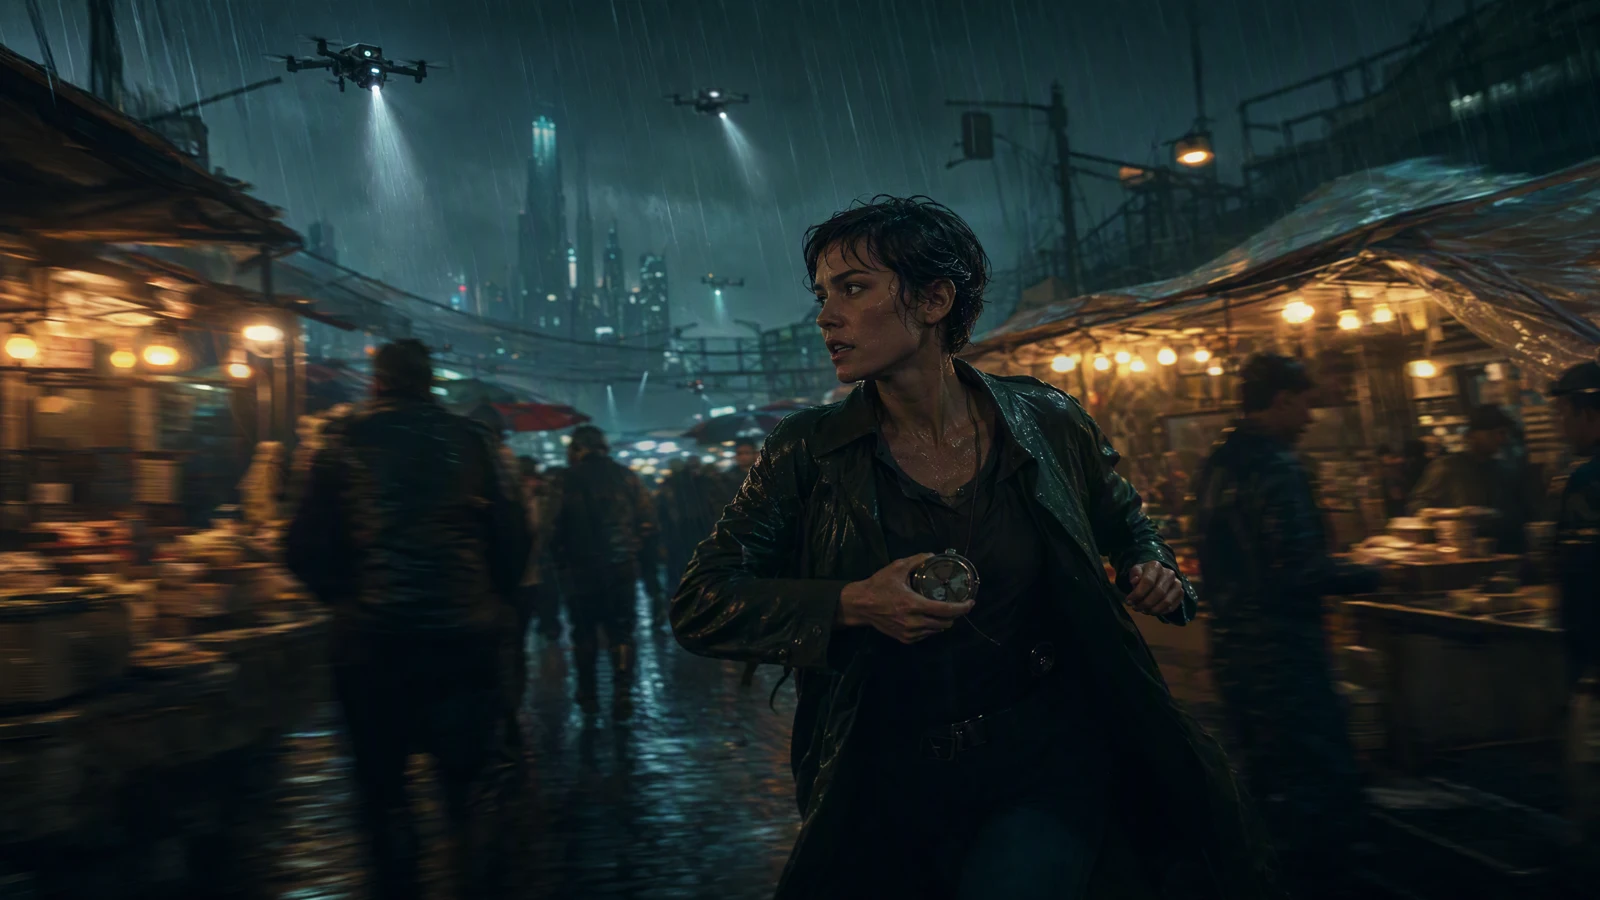
Video prompt: The same explorer runs through a crowded rain-soaked night market while search drones sweep overhead, her dark green trench coat and silver compass staying visible between umbrellas and stalls. Fast lateral tracking shot, wet pavement reflections, teal and amber lighting, controlled motion blur, photoreal action frame, no text, no logo.
Use cutaways as editorial tools
Continuity does not require the lead's face in every shot. Hands gripping the compass, boots crossing floodwater, a tower light blinking, or a door opening can bridge two character shots. These inserts also help the music and sound design breathe.
Plan cutaways before the edit is in trouble. They are useful for replacing a weak transition, shortening dialogue, or hiding a mismatch between two otherwise usable shots.
The Seedance 2.5 prompt guide offers longer prompt examples that can be adapted into a continuity-first shot list. Keep the repeated identity block intact when you borrow a camera or environment pattern.
Edit the clips into a trailer
The first edit should answer one question: does the sequence make the premise easier to feel? Do not polish color and effects while the shot order is still uncertain.
Make a selects reel
Place every viable take in one timeline. Group alternatives by beat and compare them at normal playback speed. Choose the take that best matches the neighboring shots, even if another take looks more spectacular in isolation.
Trim obvious dead frames, but leave short handles at both ends. Those handles matter when a music cue lands a few frames earlier, a sound effect needs space, or a reaction needs to breathe.
Build picture rhythm before finishing sound
Start with the broad arc:
- Establish enough context to understand the world.
- Move closer to the character before the action accelerates.
- Introduce the discovery or threat.
- Compress the gaps as pressure rises.
- Pause before or after the largest image.
- End on a visual or sonic question.
Alternation creates energy. Two large action shots can cancel each other if they have the same scale and speed. Put a still close-up or a quiet object insert between them and the second action shot feels larger.
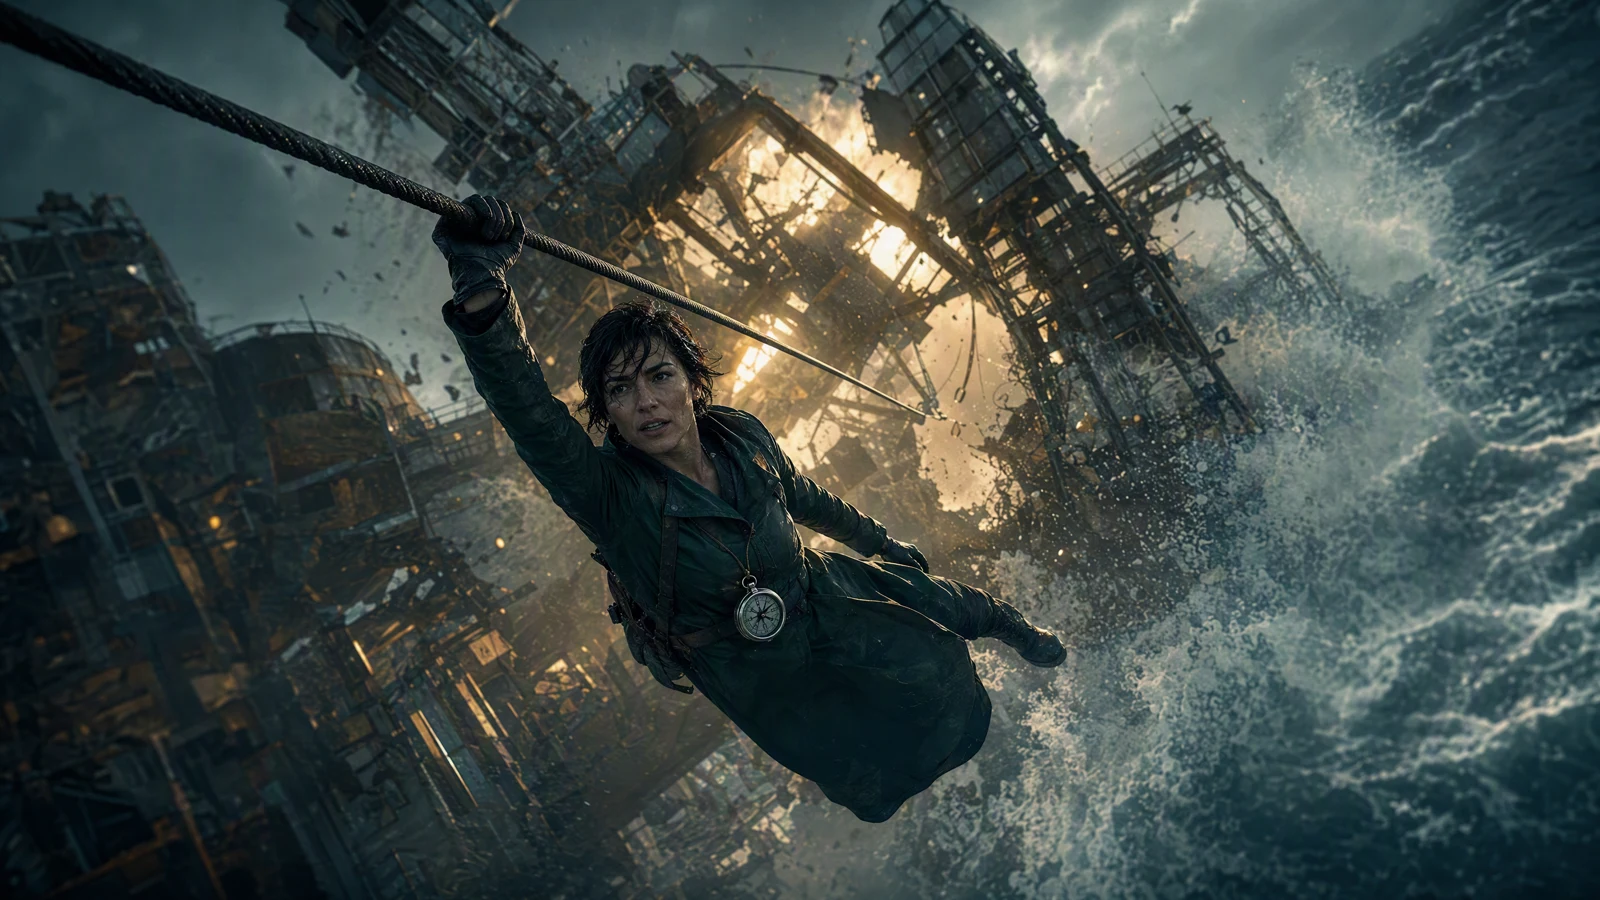
Video prompt: A storm tears through the offshore signal tower as it collapses above violent waves, while the same explorer grips a steel cable in her dark green coat and holds on against the spray. Wide diagonal composition, controlled handheld tension, strong backlight through rain, volumetric mist, high-contrast photoreal cinematic finish, no text, no logo.
Let sound create transitions
Trailers often feel connected because sound crosses the cut. A radio tone can begin over the city shot and lead into the archive. A drone buzz can arrive before the market appears. Metal strain can continue after the tower disappears into white spray.
Use music as structure, not wallpaper. Mark the intro, first lift, main hit, drop, and final sting. Then decide which story beat belongs at each point. If the cut only works because every shot lands on a loud beat, remove some cuts and make room for anticipation.
Dialogue should earn its place. A line that explains what the image already shows slows the trailer. A short line that changes the meaning of the next shot can be useful. Keep speech, music, ambience, and effects in separate tracks so the mix can be adjusted for each version.
Add titles after the story works
Title cards can clarify a name, date, or premise, but they should not repair a confusing edit. Watch the picture sequence without text. If the central promise is still missing, revise the beats or shot order.
When titles are added, keep them readable on a phone and give them enough time to register. Design the title treatment in the editor. Do not ask the video generator to render critical copy inside a moving scene.
Export for the way the trailer will be watched
Create one high-quality master before building cutdowns. Keep the timeline, clean audio stems, captions, approved graphics, and selected source clips organized so later versions do not depend on a flattened file.
| Version | Composition priority | Editing adjustment |
|---|---|---|
| Landscape master | World scale and cinematic spacing | Preserve wide geography and longer movement |
| Vertical cutdown | Face, prop, and central action | Reframe or regenerate shots for a tall canvas |
| Square feed cut | Clear center action and large titles | Shorten wide travel and protect edge crops |
| Silent-preview version | Visual premise and captions | Make the story readable before sound begins |
Do not solve a vertical cut by cropping every landscape shot around the center. An establishing frame may lose the harbor, a pursuit may lose the drones, and a two-character composition may lose one person. Flag these shots during planning and create alternate compositions while the prompt set is still fresh.
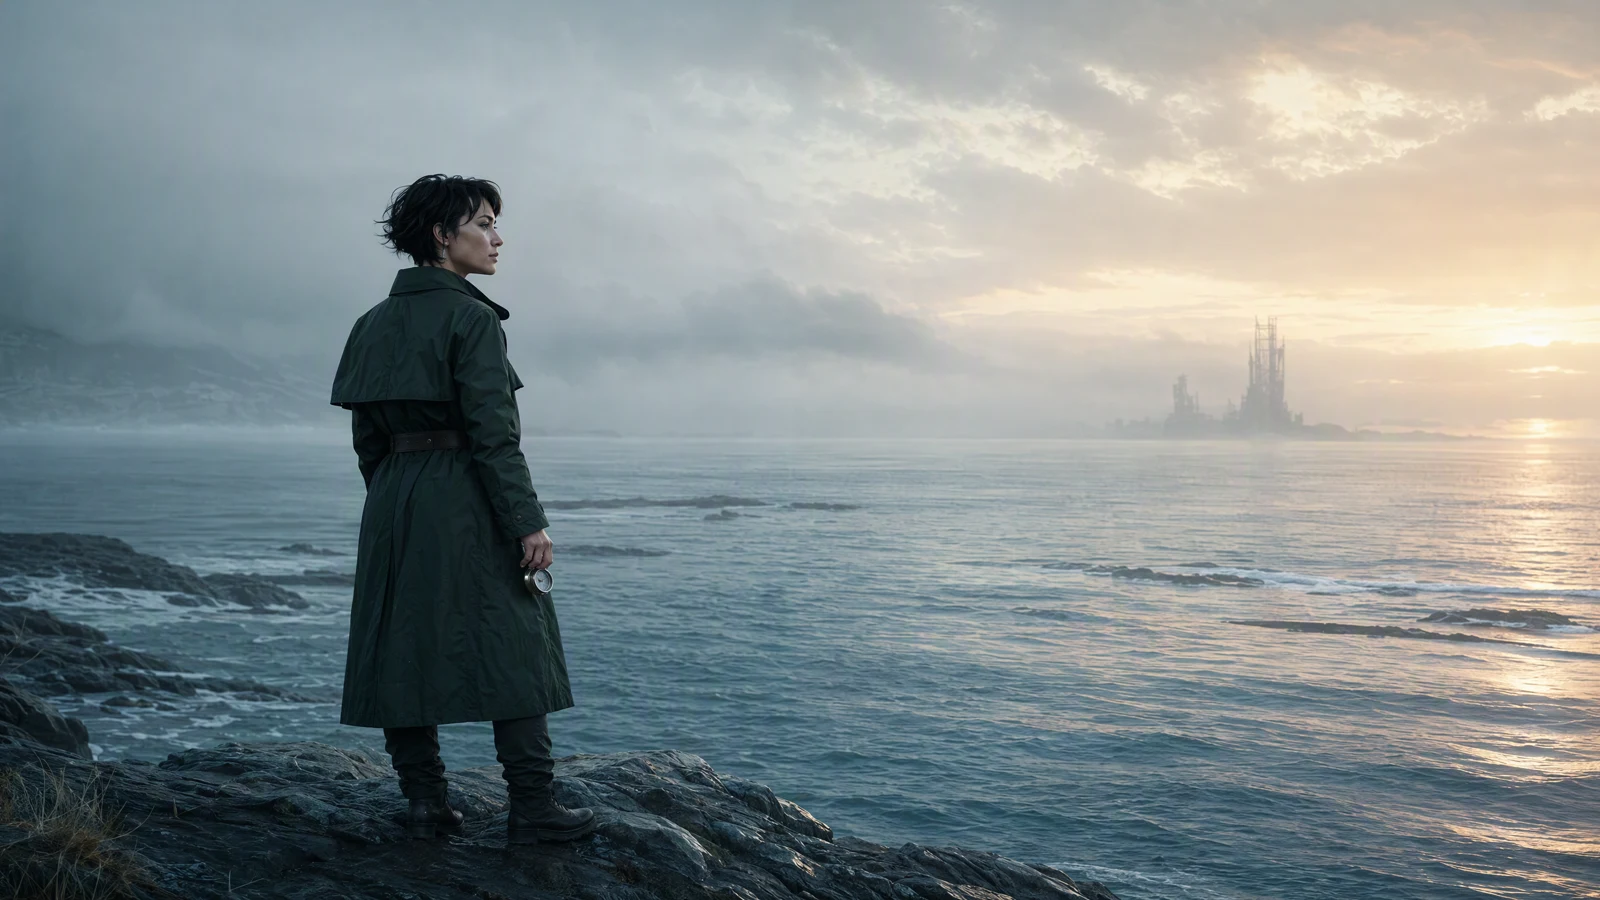
Video prompt: At dawn, the same explorer stands alone on a quiet coast holding her silver compass and looking toward the horizon after the storm. Slow pullback, gentle wind in her dark green coat, calm water, pale blue sky with warm sunrise light, spacious 2.39:1 composition, photoreal cinematic finish, no text, no logo.
Before delivery, watch every version on the kind of screen where it will appear. Check the first frame, title readability, caption timing, dark detail, audio peaks, and the final frame after platform compression. Export names should identify the project, version, aspect ratio, language, and revision rather than "final-final-2."
Common AI trailer problems and fixes
| Problem | Likely cause | Practical fix |
|---|---|---|
| The trailer feels like random clips | Prompts were written before the beat sheet | Assign one emotional and visual job to every shot |
| The lead changes between scenes | Identity details were vague or rewritten | Repeat a compact character block and use approved keyframes |
| Every shot feels equally intense | Shot scale, motion, and sound stay at one level | Alternate wide and close frames, then add quiet holds |
| The action is hard to read | The prompt combines too many events or camera moves | Describe one visible action and one primary camera move |
| The opening is slow | Context arrives before the hook | Open on the signal, threat, or unusual image, then explain less |
| The edit cannot hit the music | Generated clips have no handles | Request clean entrances and exits, then save extra frames |
| Vertical crops look weak | Landscape composition carried essential edge detail | Reframe or generate a dedicated vertical version |
| Titles look unstable | Critical text was generated inside the scene | Build titles in the editor with controlled typography |
Fix the earliest decision that caused the problem. More generations will not repair a missing premise, and more effects will not repair a flat beat sheet.
A production-ready checklist
Before generation:
- The trailer promise fits in one sentence.
- Every beat has one emotional job and one visual job.
- The character, prop, world, and grade are defined once.
- The prompt batch includes wide, medium, close, motion, and pause.
- Landscape and vertical needs are identified before rendering.
Before the final export:
- Every selected shot belongs to the same visual world.
- Picture order works before titles and polish.
- Sound leads or bridges important cuts.
- Captions and titles remain readable on a phone.
- The last image creates a clear question, promise, or next action.
- Each delivery file has a useful name and has been watched after export.
An AI movie trailer maker is most useful when it removes friction from shot creation without taking over story decisions. Start with the beat sheet, keep the continuity block short, and judge every generated clip by how it works beside the next one. When the sequence is ready, create a cinematic scene from a prompt, use image-to-video for the shots that need a controlled keyframe, and build the final tension in the edit.