How to Create AI Fashion Product Videos from Photos
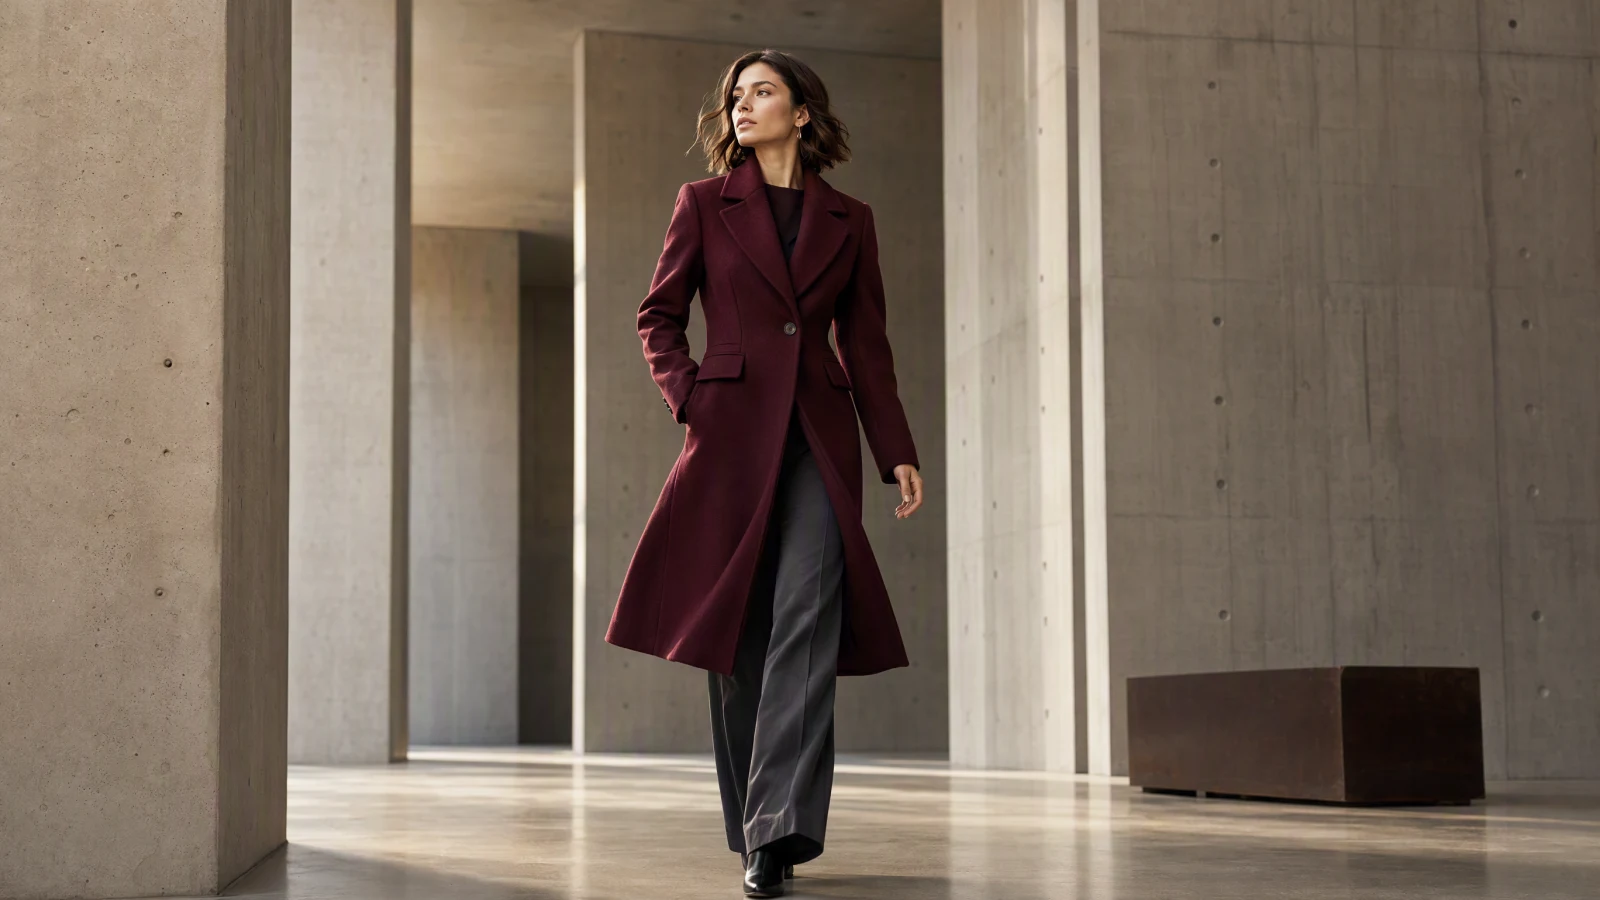
Video prompt: An adult fashion model walks through a quiet concrete gallery in a structured burgundy wool coat. Use a low tracking shot, soft side daylight, realistic cloth movement, a centered full-body composition, and a clean editorial finish. Keep the coat color, lapels, buttons, hem, and silhouette stable.
Quick answer
You can turn a clothing photo into an AI fashion product video by treating the source image as a product record, not just a visual reference. Start with a sharp, color-accurate photo that shows the full garment. Write down the details that cannot change, such as color, fabric texture, logo placement, buttons, hem, and fit. Then create short shots with one action each: a slow walk, a controlled turn, a fabric close-up, and a final product hold. Use an AI image-to-video generator to animate the image, but keep movement restrained so the model has less reason to redraw the garment. Review every result frame by frame. Reject clips that change the product, even if the motion looks polished. Finish by cutting separate versions for the product page, Reels, and TikTok, then confirm that your plan includes the commercial rights you need.
TL;DR
- Use a clean, high-resolution product photo with accurate color and enough space around the garment.
- Lock the garment's color, texture, logo, buttons, seams, hem, and fit before writing motion.
- Build three to five short shots. Give each shot one action and one camera move.
- Check hands, fabric, logos, fasteners, and silhouette frame by frame.
- Treat the video as marketing creative. The original product photos and listing remain the source of truth.
- Commercial use depends on the current plan. Check the pricing and checkout terms before publishing paid campaigns.
What makes a fashion product video useful
On a product page, a fashion video earns its place when it answers a shopping question. It can show how a garment hangs, where it moves, what the fabric looks like up close, or how the silhouette reads from another angle. A glossy camera move may look expensive and still leave the shopper wondering what the item is actually like.
Set the job of each clip before opening the generator. A product-page video should clarify shape and construction. A social ad can open with stronger motion, but the garment still needs to remain recognizable. A retargeting ad may focus on one detail, such as a collar, zipper, texture, or back panel.
Keep creative motion separate from factual product information. The video can provide attention and context. Let the product gallery, copy, size chart, and original photography carry exact attributes such as color, fit, material, measurements, care instructions, and logo details.
| Channel | Main job | Strong first shot | Useful length |
|---|---|---|---|
| Product page | Explain shape and movement | Front view with a slow turn | 6 to 12 seconds |
| Reels | Earn attention and show a look | Walk-in or fabric movement | 8 to 15 seconds |
| TikTok Shop | Show the item quickly | Product close-up, then full look | 7 to 15 seconds |
| Paid social | Communicate one selling point | Detail hook or silhouette reveal | 6 to 12 seconds |
Step 1: choose the right clothing photo
Image-to-video quality starts with the source. A better prompt cannot fully repair a weak product photo.
Choose a photo that meets these conditions:
- The garment is sharp at the final display size.
- White balance and color are close to the real item.
- Sleeves, hem, collar, and closures are visible.
- The background does not merge with the garment edge.
- There is enough space for a small turn, step, or camera move.
- The photo does not contain temporary sale labels, watermarks, or UI elements.
Flat-lay photos work well for isolated product motion, subtle fabric lift, packing scenes, and transition shots. On-model photos are better for walking, turning, pose changes, and lifestyle scenes. Detail photos are useful for texture, seams, hardware, embroidery, and care features.
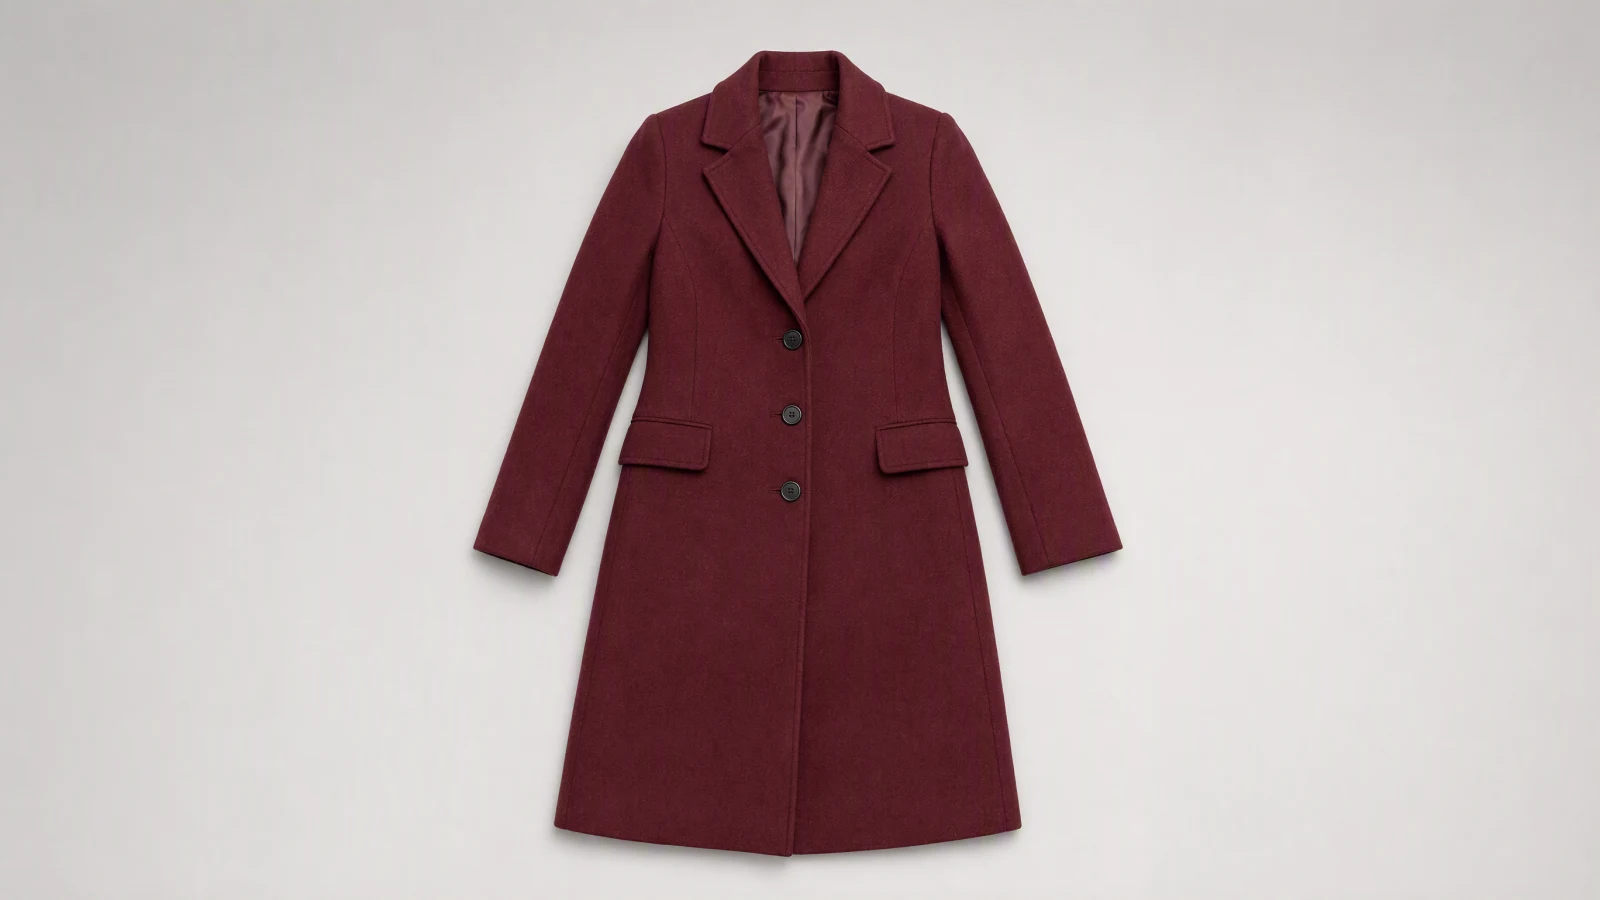
Image prompt: A structured burgundy wool coat arranged flat on a warm light-gray seamless studio surface. Show the full sleeves, lapels, buttons, pockets, hem, and woven texture. Use an overhead camera, softbox lighting, neutral color calibration, minimal shadows, and wide clean margins for later animation.
Do not crop too tightly. Image-to-video motion needs room around the subject. If a shoe, sleeve, bag strap, or hem already touches the edge, a camera move can make it disappear or force the model to invent missing content.
For a catalog with many products, standardize the source photos before you animate them. Use the same framing, background family, color workflow, and export size. Consistent inputs make it easier to compare results and reuse prompts.
Step 2: define the details that cannot change
Write a short product lock before the motion prompt. This is the list your reviewer will use to accept or reject the clip.
For a coat, the lock might read:
Preserve the deep burgundy color, dense wool texture, notched lapels, three dark buttons, two flap pockets, straight hem, fitted waist, and knee-length silhouette.
Try this prompt in SeedVideo AI
For a printed dress, include the pattern scale and placement. For sneakers, record the outsole shape, lace count, panel boundaries, and visible branding. For a handbag, note the hardware color, strap attachment, stitching, closure, and proportions.
Keep the list concrete. "Maintain product consistency" is too vague. A reviewer cannot approve that sentence. A reviewer can compare button count, pocket placement, pattern direction, and hem length.
Use four groups:
| Group | What to lock | Common failure |
|---|---|---|
| Color | Base color, contrast panels, hardware tone | Hue shifts between frames |
| Construction | Seams, buttons, zipper, pockets, collar | Parts appear, vanish, or move |
| Surface | Knit, weave, print, embroidery, logo | Texture melts or pattern drifts |
| Shape | Length, waist, sleeve width, volume | Fit becomes tighter or looser |
The product lock also gives reviewers a clear reason to say no. If a generated clip changes a defining feature, a vague caption will not fix it. Regenerate with less motion, use another source photo, or remove the shot.
Step 3: plan a short shot list
Three to five shots are enough for most fashion product videos. More shots create more continuity work and more chances for the garment to drift.
A practical four-shot sequence looks like this:
- A full-body entrance with a slow two-step walk.
- A half-turn that shows the side and back silhouette.
- A close view of the fabric, seam, or fastening.
- A still final pose with space for the product name and CTA in the edit.
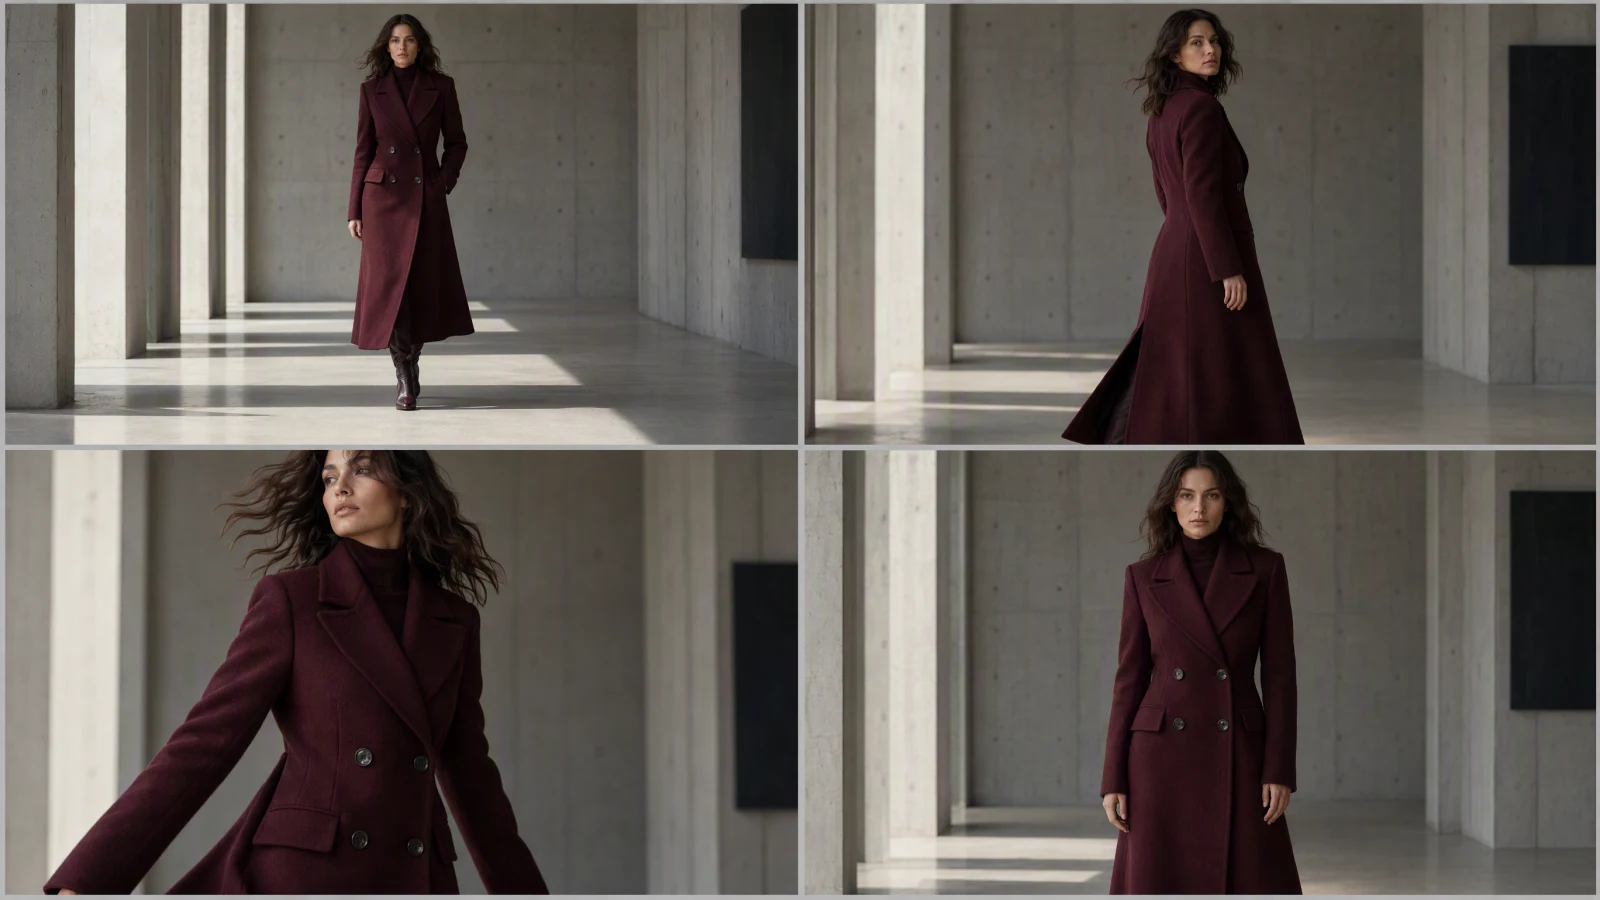
Image prompt: A four-frame fashion editorial contact sheet with the same adult model and burgundy wool coat in a concrete gallery. Show a full-body entrance walk, a controlled half-turn, a waist-up fabric movement shot, and a front-facing final hold. Keep the face, coat color, lapels, buttons, hem, lighting, and location consistent. Use thin neutral gutters and no text.
Plan each shot as an independent generation when product accuracy matters. Asking one clip to perform a long walk, spin, close-up, and pose change increases the number of transitions the model must invent. Short shots are easier to review and easier to replace.
Match the camera move to the shopping question. Use a locked camera for fit and silhouette. Use a slow push-in for material details. Use a small lateral track for drape. Save fast orbit shots and large zooms for concepts where exact construction is less important.
Step 4: write low-risk motion prompts
A fashion image-to-video prompt should describe change over time. The source image already defines the person, garment, and scene. Repeating a long visual description can invite the model to redesign them.
Use this order:
Subject action + garment behavior + camera movement + pace + final pose + preservation constraints
Try this prompt in SeedVideo AI
Example for a model photo:
The model takes two slow steps forward and makes a controlled quarter-turn. The coat hem and sleeves move naturally with the body. The camera tracks backward at walking speed and remains level. End on a stable three-quarter pose. Preserve the coat color, lapels, buttons, pockets, hem length, fabric texture, and body proportions.
Try this prompt in SeedVideo AI
Example for a flat lay:
A soft studio breeze lifts the coat hem by a few centimeters and settles it back onto the surface. The camera makes a very slow overhead push-in. Keep the coat flat, centered, and fully visible. Preserve the color, button count, lapels, pockets, seams, and exact outline.
Try this prompt in SeedVideo AI
Example for a detail shot:
The model turns slightly toward the light while the camera makes a slow macro push-in on the lapel and top button. The fabric moves only from breathing and the small turn. Keep the burgundy color, woven texture, seam line, button shape, and pocket edge unchanged.
Try this prompt in SeedVideo AI
Avoid stacking actions. "Walk, spin, jump, remove the jacket, and throw it toward the camera" asks for several difficult state changes. It may work as entertainment, but it is a poor first prompt for a catalog item.
Step 5: generate with current image-to-video controls
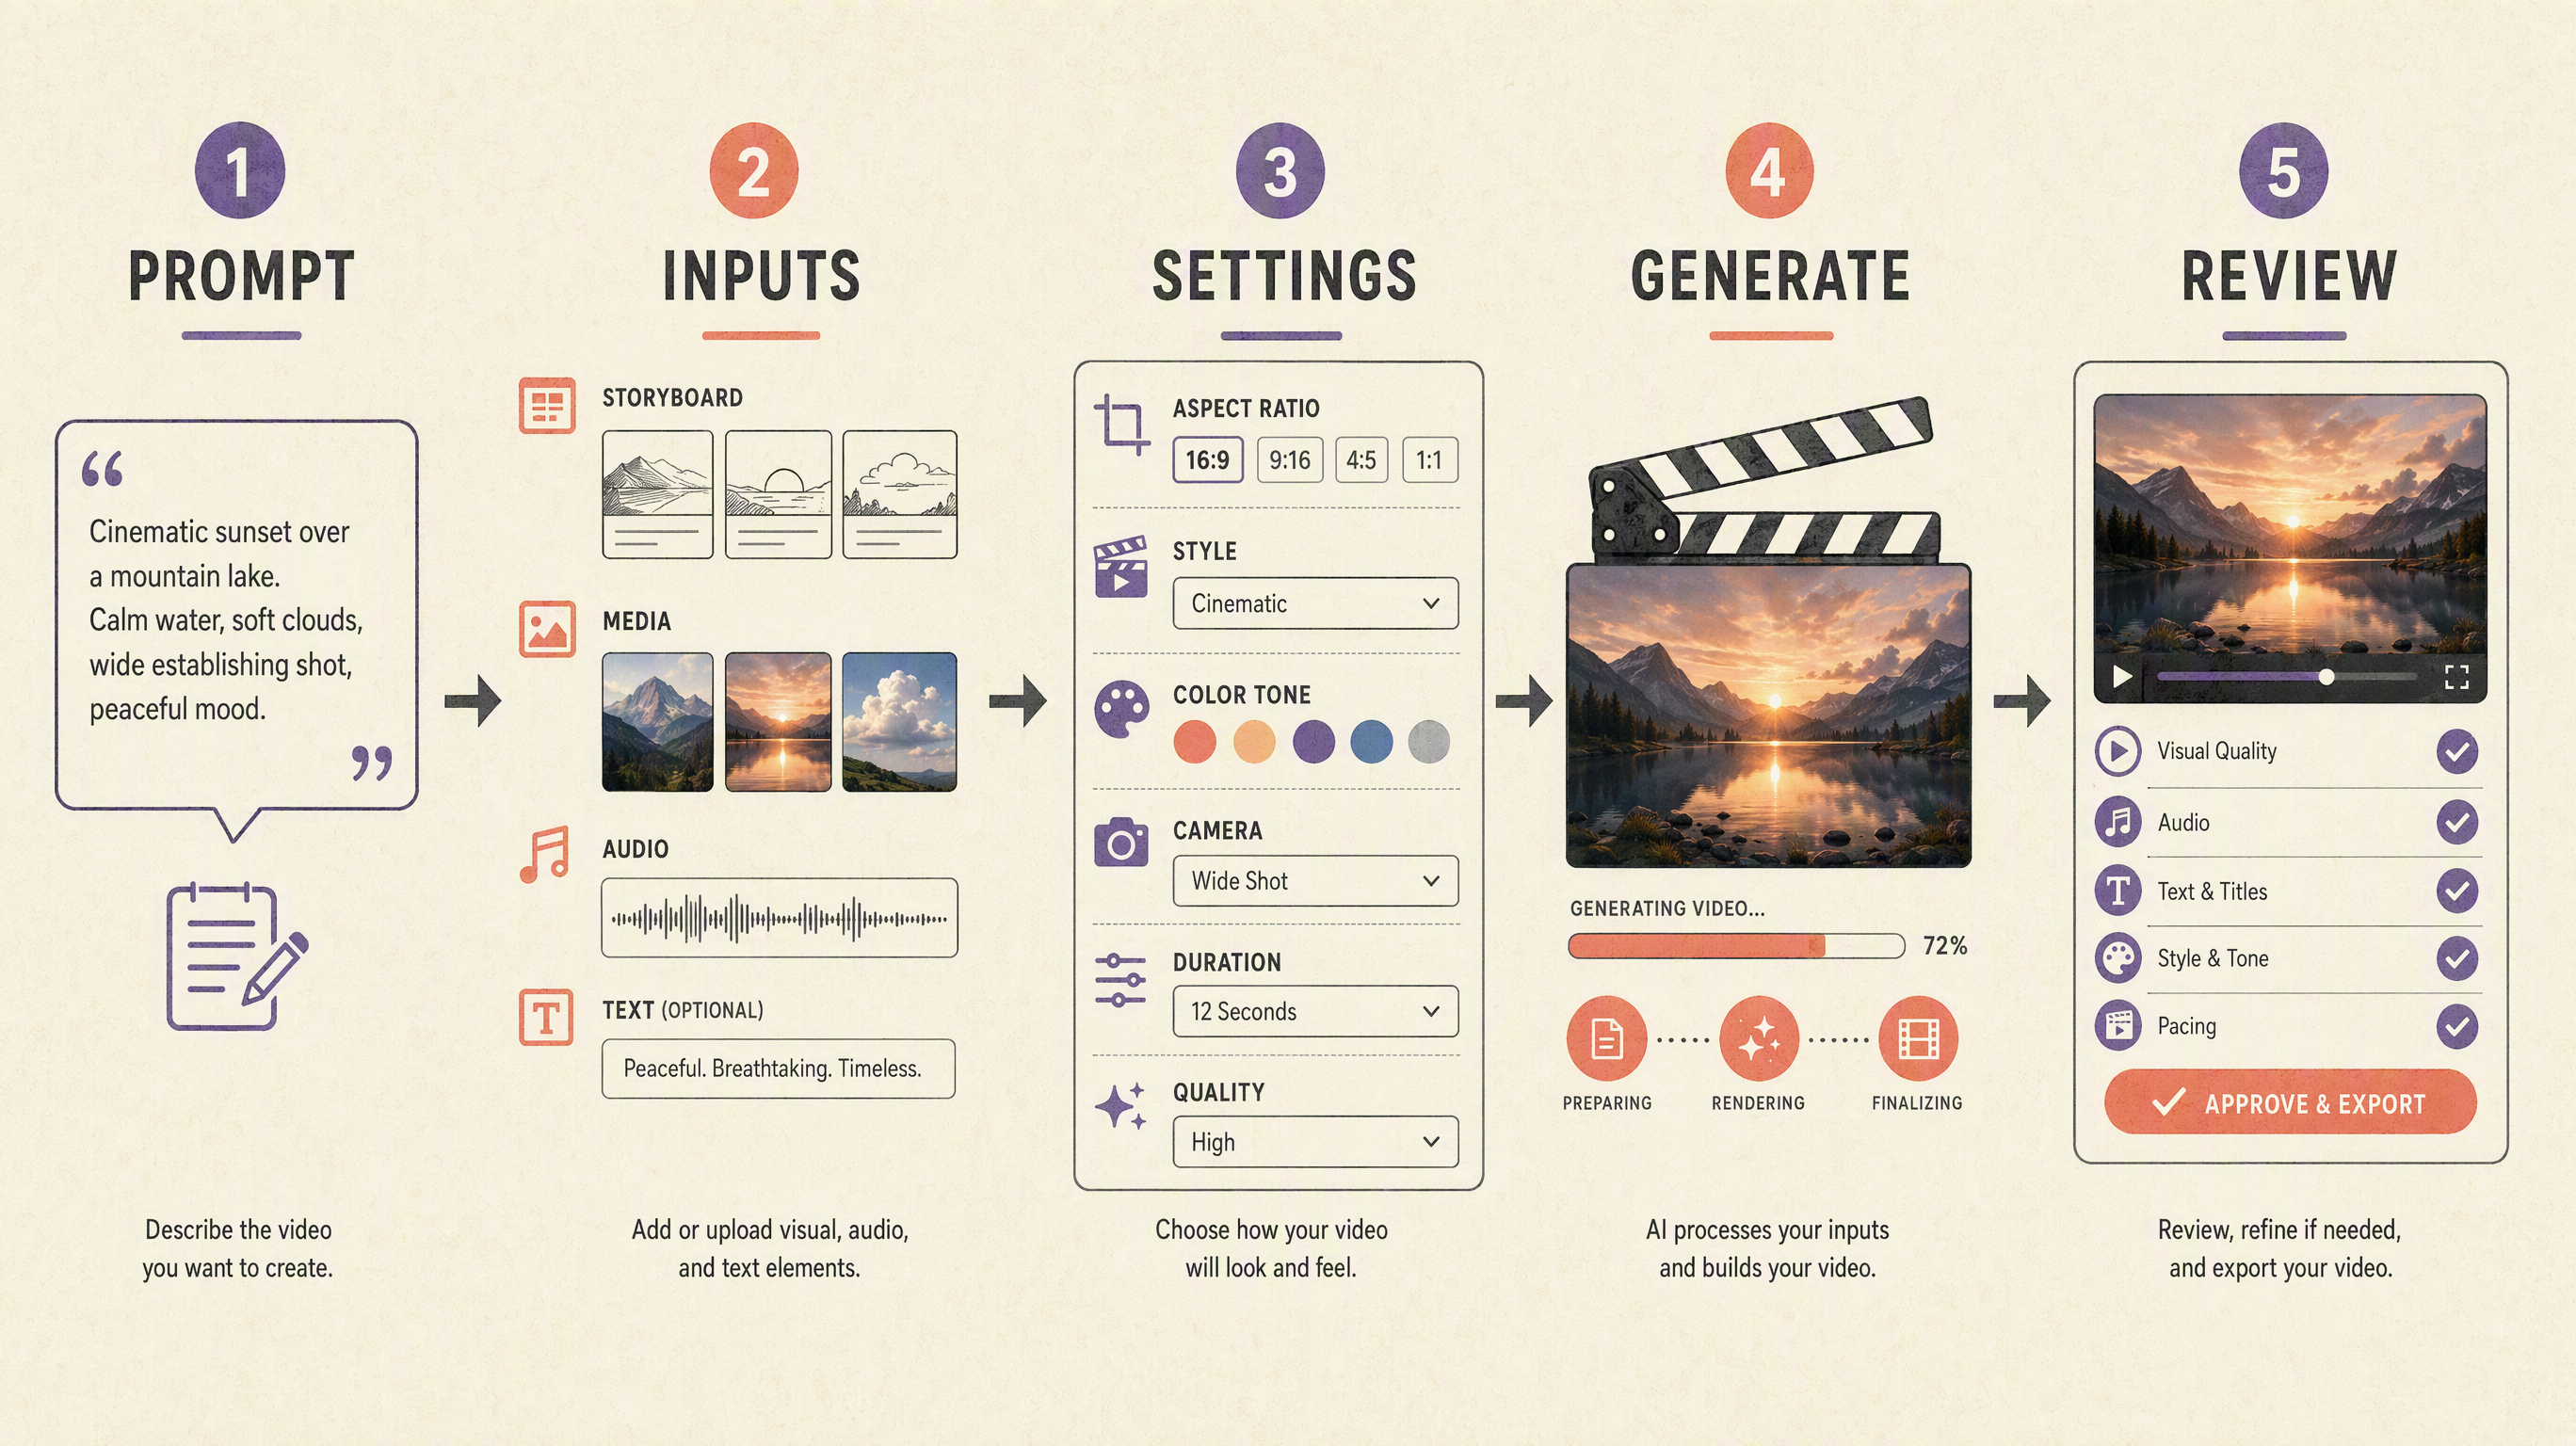
Open the localized image-to-video workspace, upload the starting image, and select Seedance 2.5 when you need the current longer-duration and reference-led workflow. The live interface currently requires a starting image for image-to-video. It exposes adaptive, 16:9, 9:16, 1:1, 4:3, 3:4, and 21:9 framing; 480p, 720p, and 1080p resolution choices; and a duration control from 4 to 30 seconds.
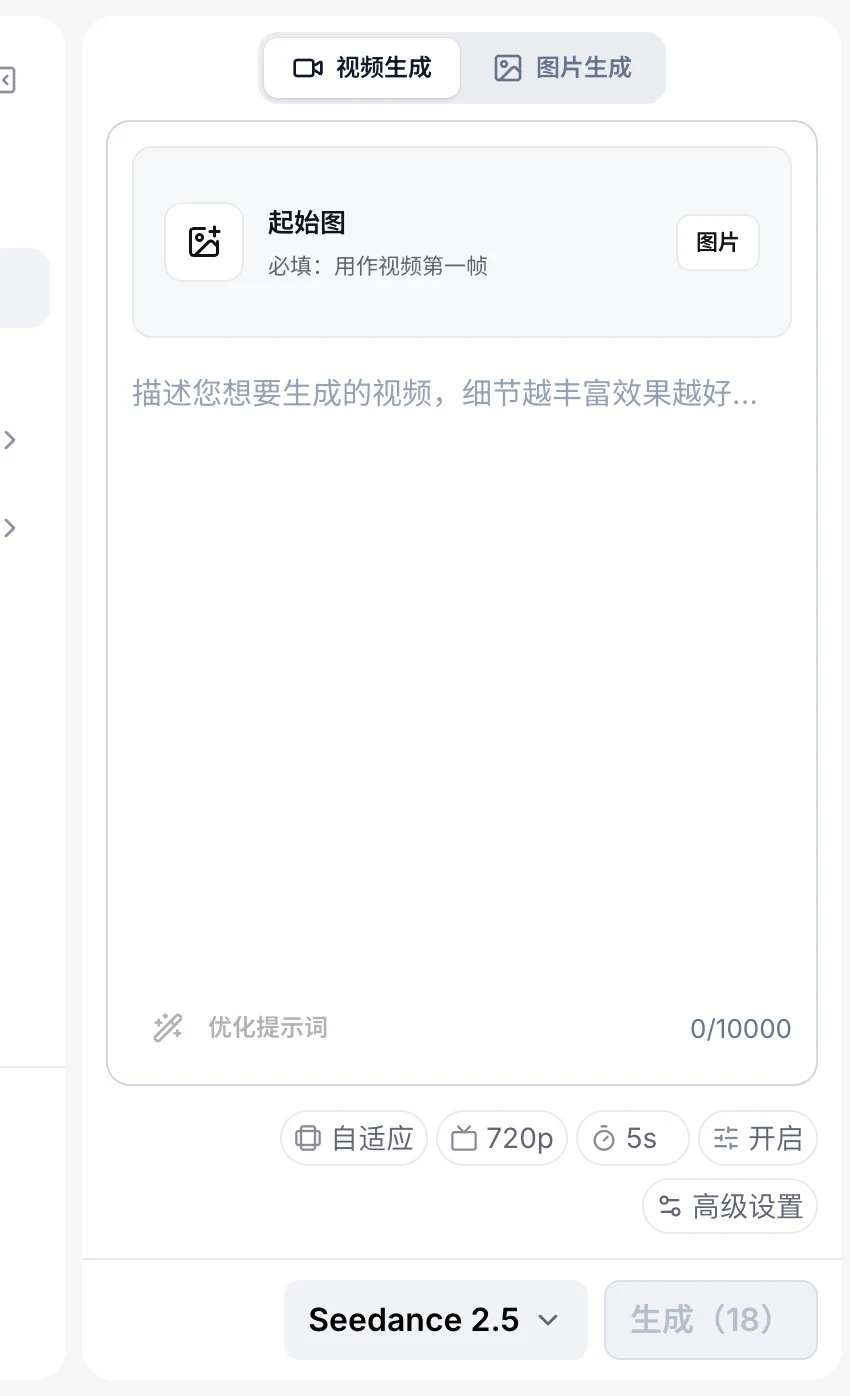
Current Seedance 2.5 image-to-video workspace with account details removed.
Start with a short 5 to 8 second clip at a review-friendly resolution. The goal of the first generation is to test motion and garment stability, not to finish the entire campaign. If the result is good, keep the prompt and adjust one variable at a time.
Use this iteration order:
- Reduce the subject action if the garment shape changes.
- Reduce the camera movement if edges or patterns drift.
- Shorten the duration if the last seconds break down.
- Change the source photo if important details are hidden.
- Increase resolution only after the motion plan is stable.
Seedance 2.5 supports clips up to 30 seconds on the current product surface, but a longer setting does not automatically make a better fashion ad. Most catalog work benefits from several short approved clips joined in an editor.
Step 6: review the result frame by frame
Watch once for overall motion, then watch again for the garment. Pause at the first frame, several points through the action, and the final frame. Scrub slowly through turns and hand contact.
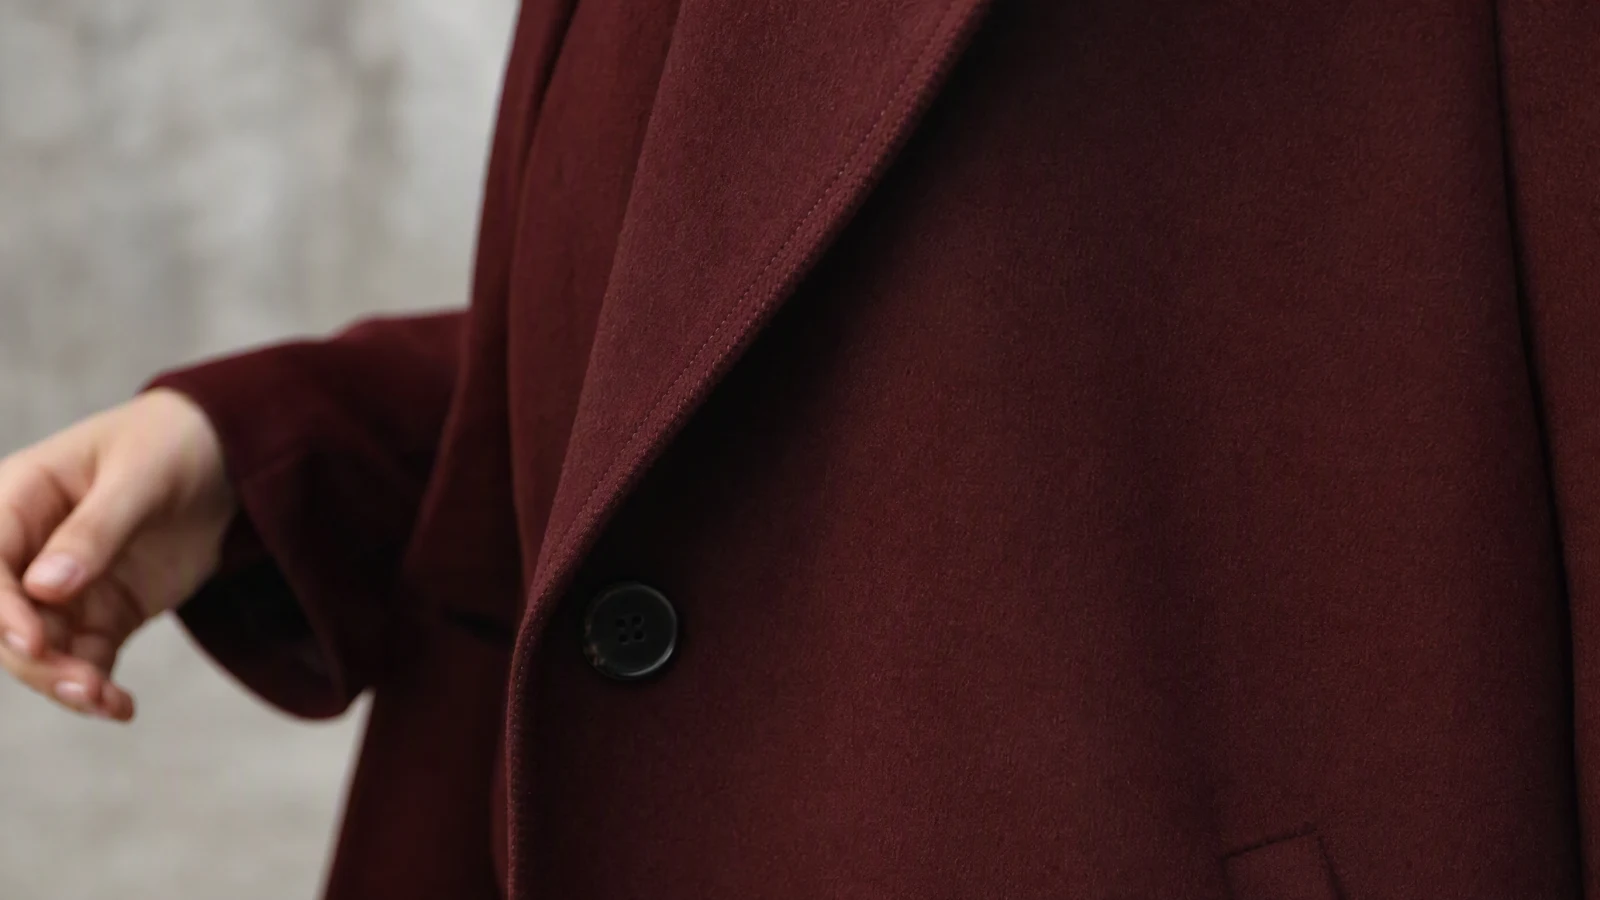
Video prompt: A macro fashion shot of a burgundy wool coat during a small controlled turn. Focus on the lapel edge, stitching, button, seam, and dense woven texture. Use a slow camera push-in, soft side light, shallow depth of field, accurate color, and restrained hand movement. Preserve every construction detail.
Use this review checklist:
- Does the color remain stable from the first frame to the last?
- Does the pattern keep the same scale, direction, and placement?
- Are buttons, zippers, pockets, straps, and logos still present?
- Do lapels, collars, sleeves, and hems keep their shape?
- Do hands pass in front of the garment without merging into it?
- Does the fabric move like the named material?
- Does the final frame remain usable for an edit or CTA?
Watch the hands even when the product is the priority. Hands often cross pockets, bags, sleeves, waistbands, and buttons. A small anatomy error can also distort the item beneath it.
Record rejection reasons with specific labels: color shift, extra button, logo drift, hem change, hand merge, pattern warp, or fit change. Specific labels help you identify whether the source, action, camera move, or duration caused the problem.
Step 7: cut versions for the product page, Reels, and TikTok
Do not force one export into every channel. Build a clean master from approved shots, then make channel cuts.
Product-page version
Use a neutral opening, readable product views, and a stable final frame. Keep text minimal. The surrounding page already carries the product name, price, variants, and size information. A 16:9 or 1:1 frame often fits desktop galleries, but confirm your storefront component before exporting.
Reels version
Use a 9:16 crop and place the garment near the center so interface elements do not cover it. Open with motion in the first second. Keep important detail shots large enough for a phone screen. Add captions only when they explain a real feature.
TikTok Shop version
Show the product quickly, then move to a full look or detail. Keep the CTA connected to the actual listing. Avoid claims about fit, material, or performance that the visual cannot prove. If the video uses a synthetic model or scene, apply the disclosure rules required by the platform and your market.
For a deeper ad structure, the AI UGC video ads workflow explains how to connect a hook, demonstration, proof point, and CTA. For more input and motion troubleshooting, use the image-to-video guide.
Product accuracy and disclosure checklist
AI fashion video is a creative layer around the product. It should not replace the records used to sell the item.
Before publishing, confirm:
- The product page uses original photography for exact color and construction.
- The video does not add pockets, fasteners, trim, prints, or logos.
- The video does not imply a size, fit, stretch level, or material property that was not verified.
- The final edit does not hide a product change with a rapid cut.
- Synthetic people or scenes are disclosed where platform or local rules require it.
- Music, fonts, source photos, logos, and any third-party assets are cleared for the intended use.
- The account plan covers the intended commercial use.
On SeedVideo AI, current pricing distinguishes commercial rights by plan. Pro, Premium, yearly plans, and one-time credit packs include commercial use. Lite monthly does not. Check the current pricing and checkout terms again before a paid campaign, because plan terms can change.
The AI product video guide covers broader product-video planning beyond fashion, including shot roles, claims, and final QA.
Common problems and practical fixes
| Problem | Likely cause | Fix |
|---|---|---|
| Garment changes during a turn | Rotation is too large or source hides the side | Use a quarter-turn or add a side-view source |
| Pattern drifts | Fine repeat pattern and strong fabric motion | Reduce motion and shorten the shot |
| Logo warps | Logo is small, angled, or crossed by a hand | Use a separate detail shot with a locked camera |
| Fit becomes tighter | Large pose change or body occlusion | Use a smaller step and keep arms away from the torso |
| Color shifts | Mixed lighting or dramatic relighting prompt | Request neutral light and remove color-grade language |
| Final seconds collapse | Duration exceeds the stable action | End earlier and hold the last approved frame in editing |
Change one variable per attempt. If you replace the source and also change motion, camera, duration, aspect ratio, and model, you will not know what improved the result.
FAQ
Can I create a fashion video from one clothing photo?
Yes. One clear flat-lay or on-model image can support a short walk, turn, push-in, or fabric movement shot. Extra angles help when the action reveals parts of the garment that the first image does not show.
Is an AI fashion video the same as virtual try-on?
No. A fashion product video animates a product image or model image. Virtual try-on tries to show how a specific garment might appear on a person. Neither should be used as proof of exact sizing or fit without a separate validated system.
What is the safest motion for a clothing photo?
A small step, quarter-turn, slow camera push-in, or light fabric movement is a good starting point. Large spins, fast arm crossings, clothing removal, and aggressive orbit shots create more garment changes.
Which aspect ratio should I choose?
Use 9:16 for Reels and TikTok, 16:9 for many desktop product pages and ads, and 1:1 when your storefront or ad placement favors square media. Keep the garment centered so you can make several crops from one approved shot.
How long should each generated shot be?
Five to eight seconds is a practical first test. The current Seedance 2.5 interface supports 4 to 30 seconds, but several short stable clips are usually easier to review than one long sequence.
Can I use the generated fashion video in ads?
Use a plan that includes commercial rights and confirm the checkout terms. On the current pricing page, Pro, Premium, yearly plans, and one-time credit packs include commercial use, while Lite monthly does not.
How do I keep logos and patterns stable?
Use a sharp source image, make the logo or pattern large enough to read, limit subject and camera motion, and generate a separate close-up. Review every frame. If a defining mark changes, remove the clip or regenerate it.
Should the AI video replace product photography?
Keep original product photos on the listing. Use the video to show motion, mood, and context. Product photography and verified listing data should carry exact color, material, dimensions, and fit information.
Build the first fashion video
Choose one strong product photo and one simple action. Create a five-second test in the SeedVideo AI image-to-video generator, compare it against your product lock, and keep only frames that preserve the garment. A disciplined four-shot set will usually outperform a longer clip that asks the model to invent too much.