How to Create AI Real Estate Videos from Listing Photos
An AI real estate video generator can turn a set of listing photos into a 30 to 45 second property video, but the safest workflow is deliberately conservative. Start with accurate, current photos. Put them in a logical walk-through order. Give each still one small camera move, then reject any clip that changes walls, windows, doors, fixtures, views, finishes, or room proportions. Add the address, price, square footage, and other claims only from the listing record supplied by the agent or broker. The goal is motion that helps buyers understand the property, not motion that invents a better property. Build a clean master edit first, then export separate horizontal and vertical versions for the listing page, email, and social channels. Before publishing, confirm photo rights, music rights, platform requirements, local advertising rules, and the usage rights attached to your AI video plan.
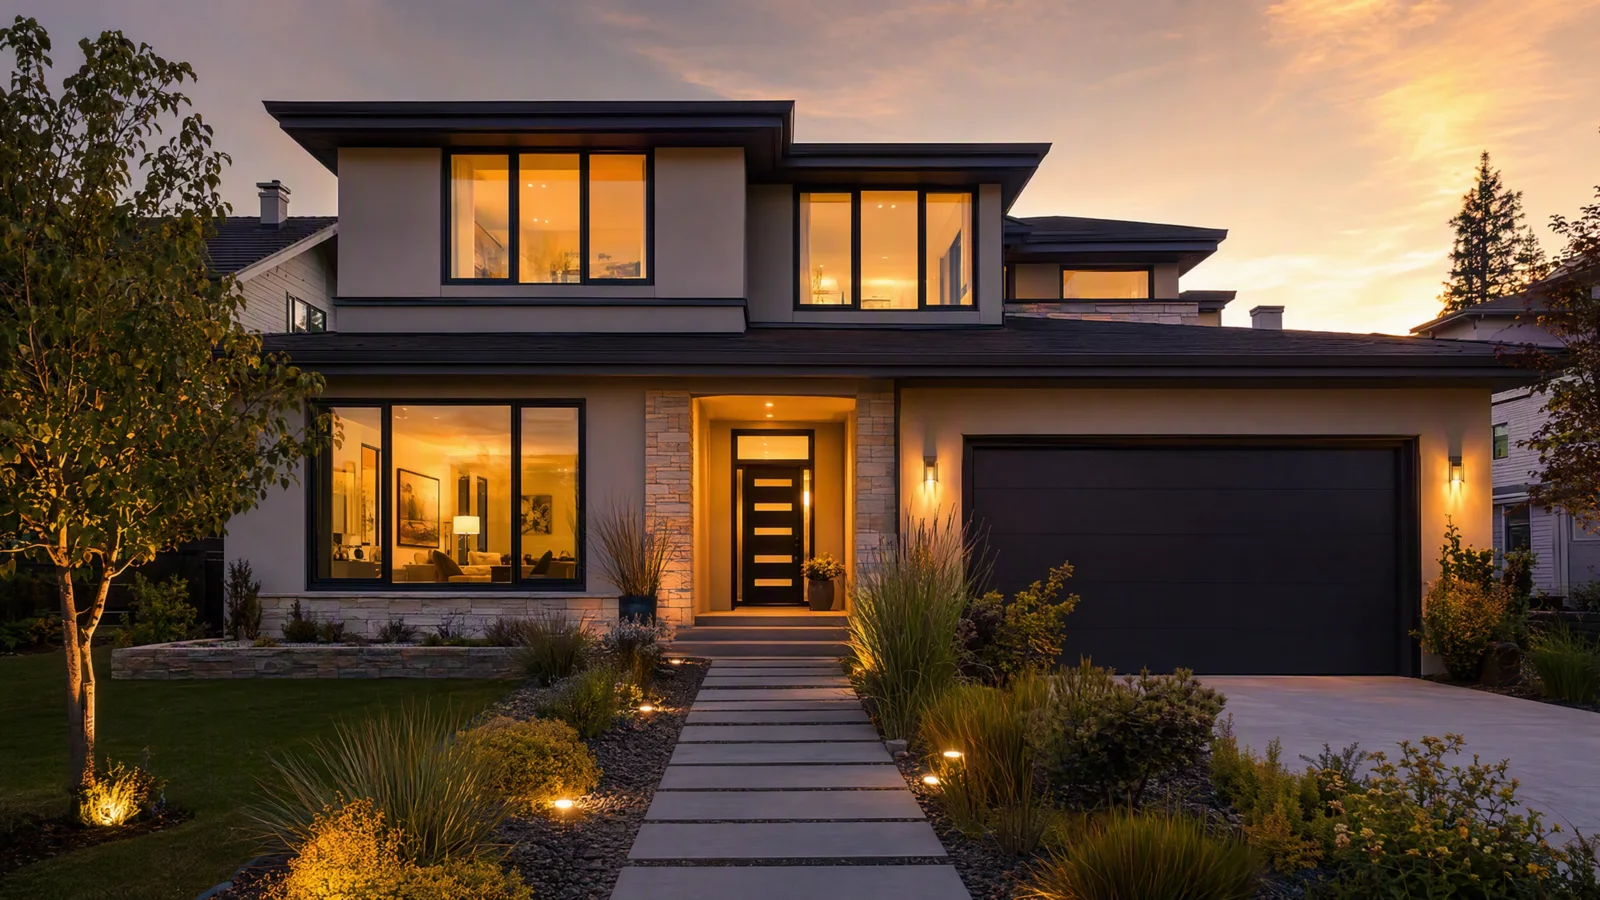
Image prompt: Create a fictional contemporary two-story suburban home at golden hour, with clean architecture, warm interior lights, a landscaped path, a level low camera, realistic materials, restrained property-photography styling, and a wide 16:9 composition.
TL;DR
- Use only current photos that accurately show the property.
- Plan a room sequence before generating any motion.
- Keep motion subtle: a slow push, short pan, or gentle depth shift is usually enough.
- Generate one photo at a time and reject structural or material changes.
- Add listing facts from a verified source sheet, not from visual guesses.
- Make a horizontal master, then create a separate vertical cut.
- Keep source files, approvals, rights records, and disclosure decisions with the campaign.
Quick answer
The practical method is to treat AI as a camera-motion layer, not as a renovation tool. Prepare eight to twelve strong listing photos, map them into a simple tour, and animate each image for a few seconds with one restrained movement. A front exterior can use a slow push-in. A living room can use a short lateral slide. A kitchen can use a gentle move toward the island. Review every frame for geometry drift before editing the accepted clips into a 30 to 45 second video.
You can begin in the AI image-to-video generator. Upload a source photo, describe only the movement you want, choose the delivery format, and generate the clip. The current workspace provides a first-frame image slot, a prompt field, aspect-ratio and duration controls, output settings, and a model selector. Available options can change, so use the values shown in the product when you create the final asset.
What you need before you start
The generation step is short. The preparation determines whether the finished video is useful and defensible.
| Input | What to prepare | Why it matters |
|---|---|---|
| Listing photos | Current, sharp, authorized images | The video should represent the property being marketed |
| Fact sheet | Address, price, area, room count, amenities, status | Prevents unsupported text overlays |
| Photo order | Exterior, arrival, main rooms, private rooms, outdoor space | Gives the edit a natural sense of movement |
| Channel list | MLS, property site, email, Reels, Shorts, paid social | Determines aspect ratio, safe zones, and length |
| Rights file | Photographer permission, music license, brand approval | Helps the team document what it may publish |
| Disclosure decision | Broker, platform, and local-rule guidance | Keeps synthetic motion and virtual changes properly described |
Do not fill gaps with images from a different unit, a previous renovation, or a similar building. If an important room was not photographed, leave it out or arrange a new shoot. A shorter accurate tour is more useful than a complete-looking tour built from uncertain material.
1. Select listing photos that can survive motion
Good source photos have a clear subject, readable edges, natural perspective, and enough room around the main feature. They do not need to be dramatic. They need to be stable.
Choose an exterior that shows the entrance or full elevation without heavy obstruction. For interiors, prefer level frames with straight verticals and a clear relationship between walls, windows, doors, counters, and furniture. Avoid extreme wide-angle distortion, aggressive HDR halos, heavy compression, blurred handheld shots, and collages. These flaws become harder to judge once the frame starts moving.
Remove duplicate angles. If three photos show the same living room, pick the one that best explains the layout. Keep a second angle only when it adds information, such as the connection to a dining area or the location of a fireplace.
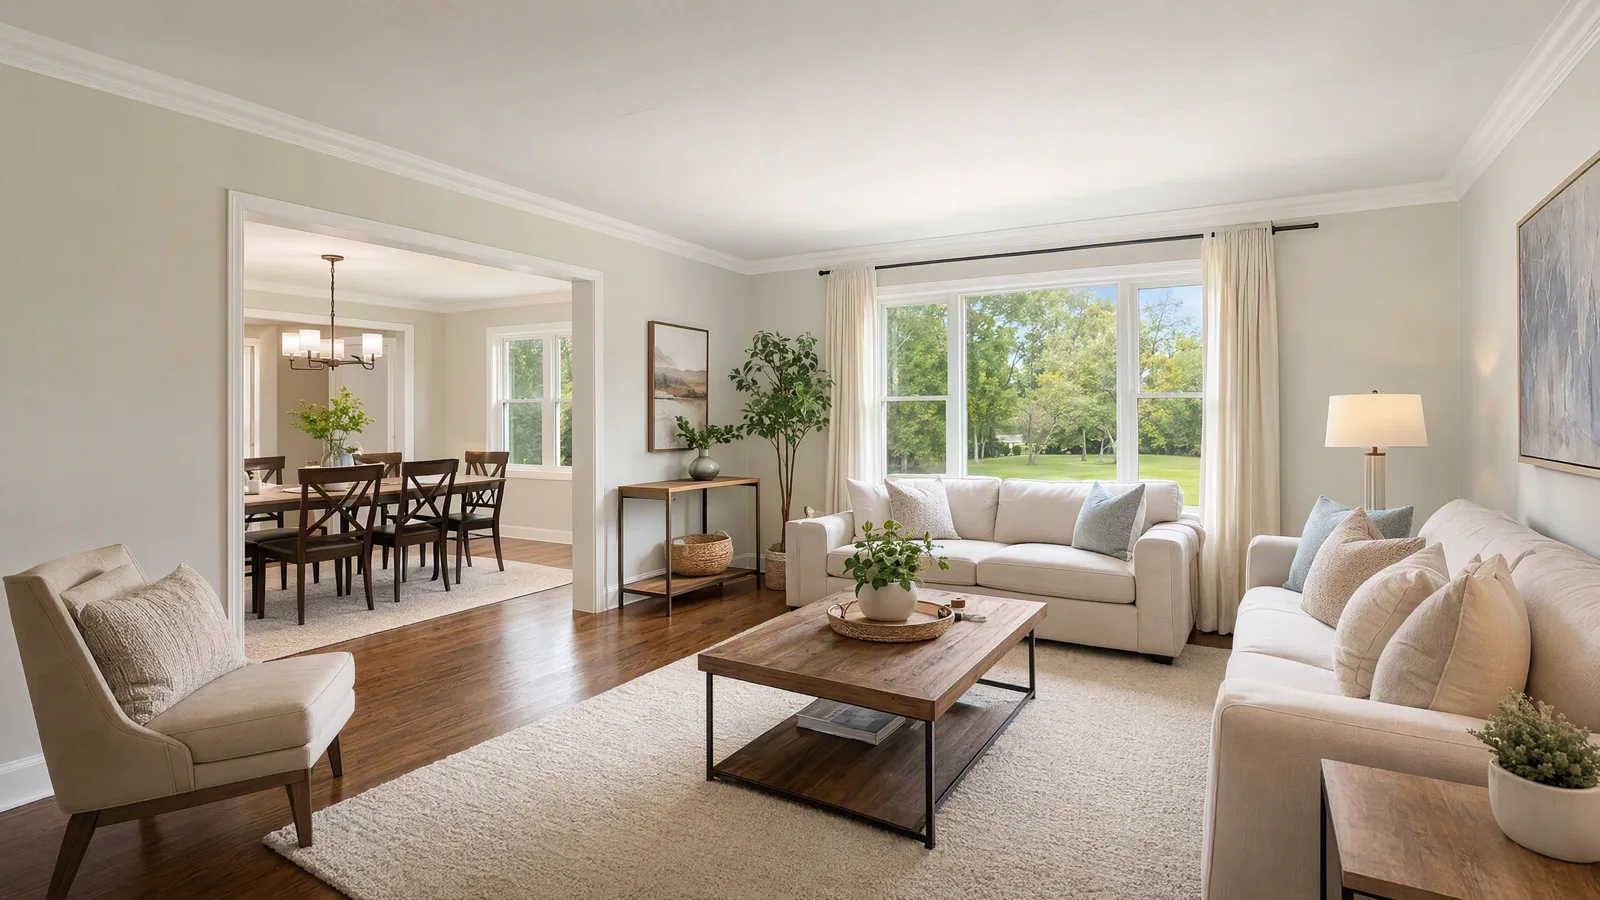
Image prompt: Create a fictional bright living room prepared as a real estate listing photo, with straight walls and window frames, neutral furniture, visible access to an adjacent dining area, natural daylight, a level wide camera, balanced exposure, and realistic property-photography detail.
2. Build a fact sheet and shot order
Create one source-of-truth sheet before writing captions. Copy facts from the approved listing record or another source named by the broker. Include the exact formatting for the address, price, living area, lot size, room count, parking, association information, and showing instructions. Mark optional claims separately. If the source does not confirm a feature, do not put it on screen.
Next, arrange the photos as a visit rather than a slideshow. A common order is:
- Exterior establishing shot
- Entry or foyer
- Living area
- Kitchen and dining area
- Primary bedroom
- One or two supporting rooms
- Outdoor space or verified view
- Closing exterior and contact card
This is a template, not a requirement. A studio apartment may need only five visual beats. A rural property may need an early land shot. Keep the sequence faithful to the actual layout and the listing's strongest verified features.
A simple 35-second plan
| Time | Visual | Motion | Text |
|---|---|---|---|
| 0-4 s | Front exterior | Slow push toward entrance | Address or listing status |
| 4-9 s | Entry and living room | Gentle lateral slide | One verified positioning line |
| 9-14 s | Kitchen | Short push toward island | Verified kitchen feature |
| 14-20 s | Dining or family room | Slow pan | No overlay if the frame is busy |
| 20-26 s | Primary bedroom | Subtle depth shift | Verified room label |
| 26-31 s | Yard, patio, or view | Gentle reveal | Verified outdoor feature |
| 31-35 s | Exterior or brand card | Hold or very slow push | Agent contact and CTA |
3. Match one restrained movement to each photo
One photo usually needs one movement. Combining a push, orbit, crane, rack focus, and lighting change in the same short clip gives the model too many opportunities to alter the property.
Use a slow push-in when the composition already points toward an entrance, fireplace, island, or view. Use a short pan when the frame contains a real left-to-right relationship that buyers need to understand. Use a gentle pull-back when you want to reveal the room's width without changing its proportions. A small depth shift can add life to foreground plants or furniture, but keep the architecture fixed.
The camera movement prompt guide has more movement language. For listing work, remove dramatic speed, large rotations, sweeping orbits, and any instruction that asks the model to reveal unseen space.
Prompt formula
Use this order:
Preserve the source property exactly + one camera move + speed + fixed features + light behavior + end condition
Example:
Preserve the room layout, window positions, furniture, finishes, and view exactly as shown. Make a very slow three-second push toward the kitchen island. Keep all vertical lines straight. Maintain the existing daylight and exposure. End on a stable frame.
Write what must stay fixed. "Make it cinematic" says little about fidelity. "Keep the countertop edge, cabinet count, window shape, and pendant positions unchanged" gives the review team a clearer standard.
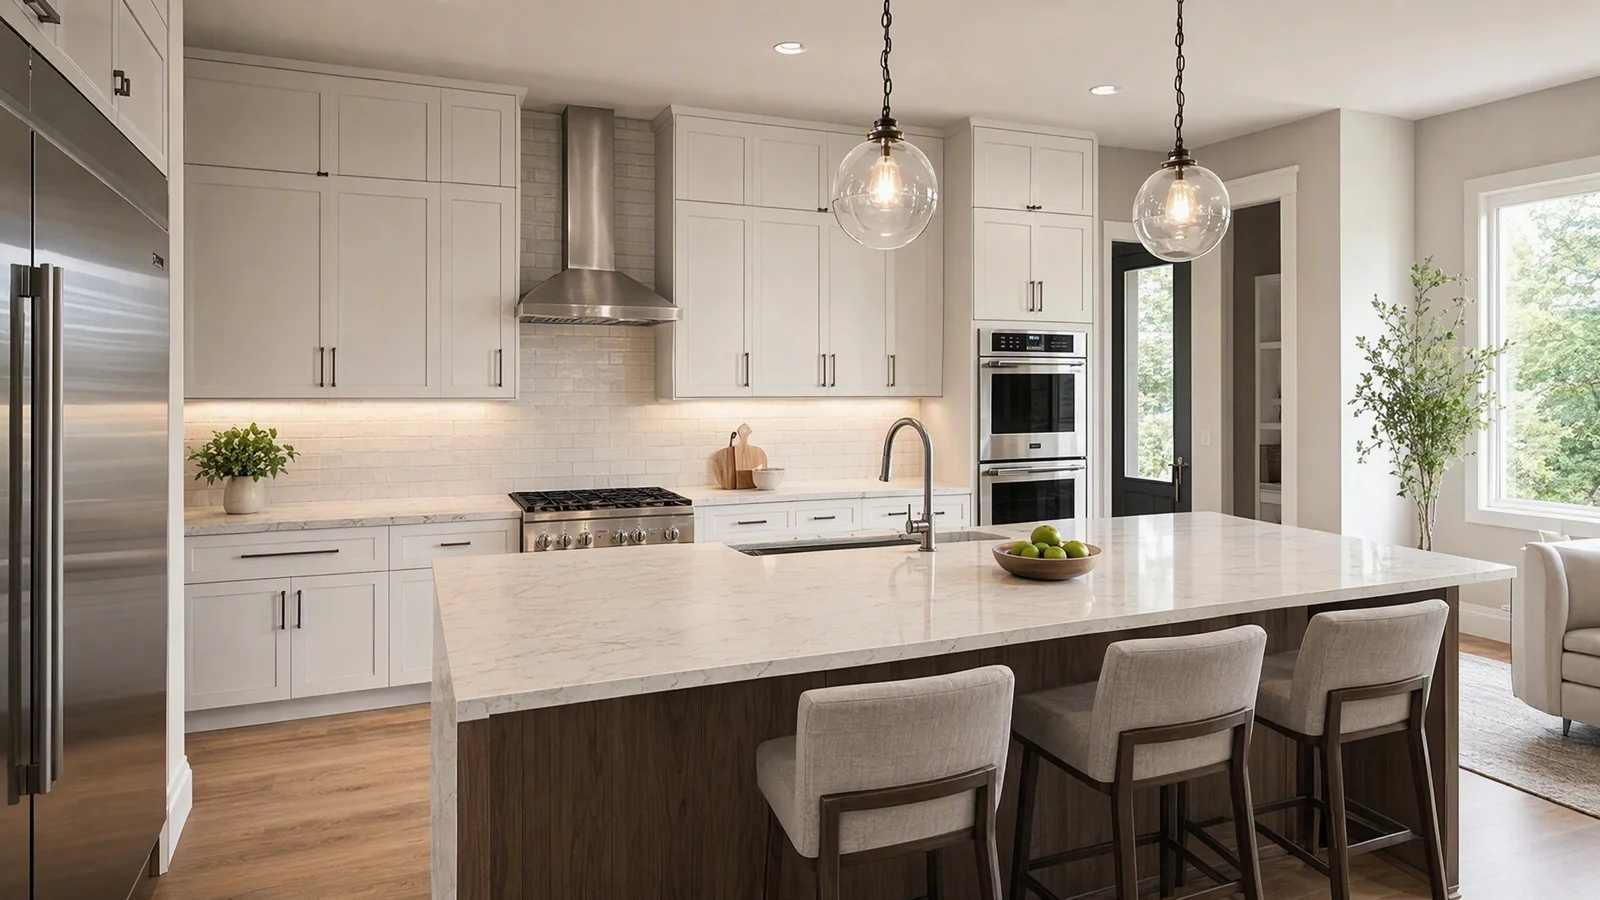
Video prompt: Preserve this fictional kitchen's cabinet layout, island dimensions, window position, appliances, pendant lights, and materials. Add a slow three-second push toward the island, keep every vertical line straight, maintain the natural side light, and finish on a stable frame.
4. Generate one source photo at a time
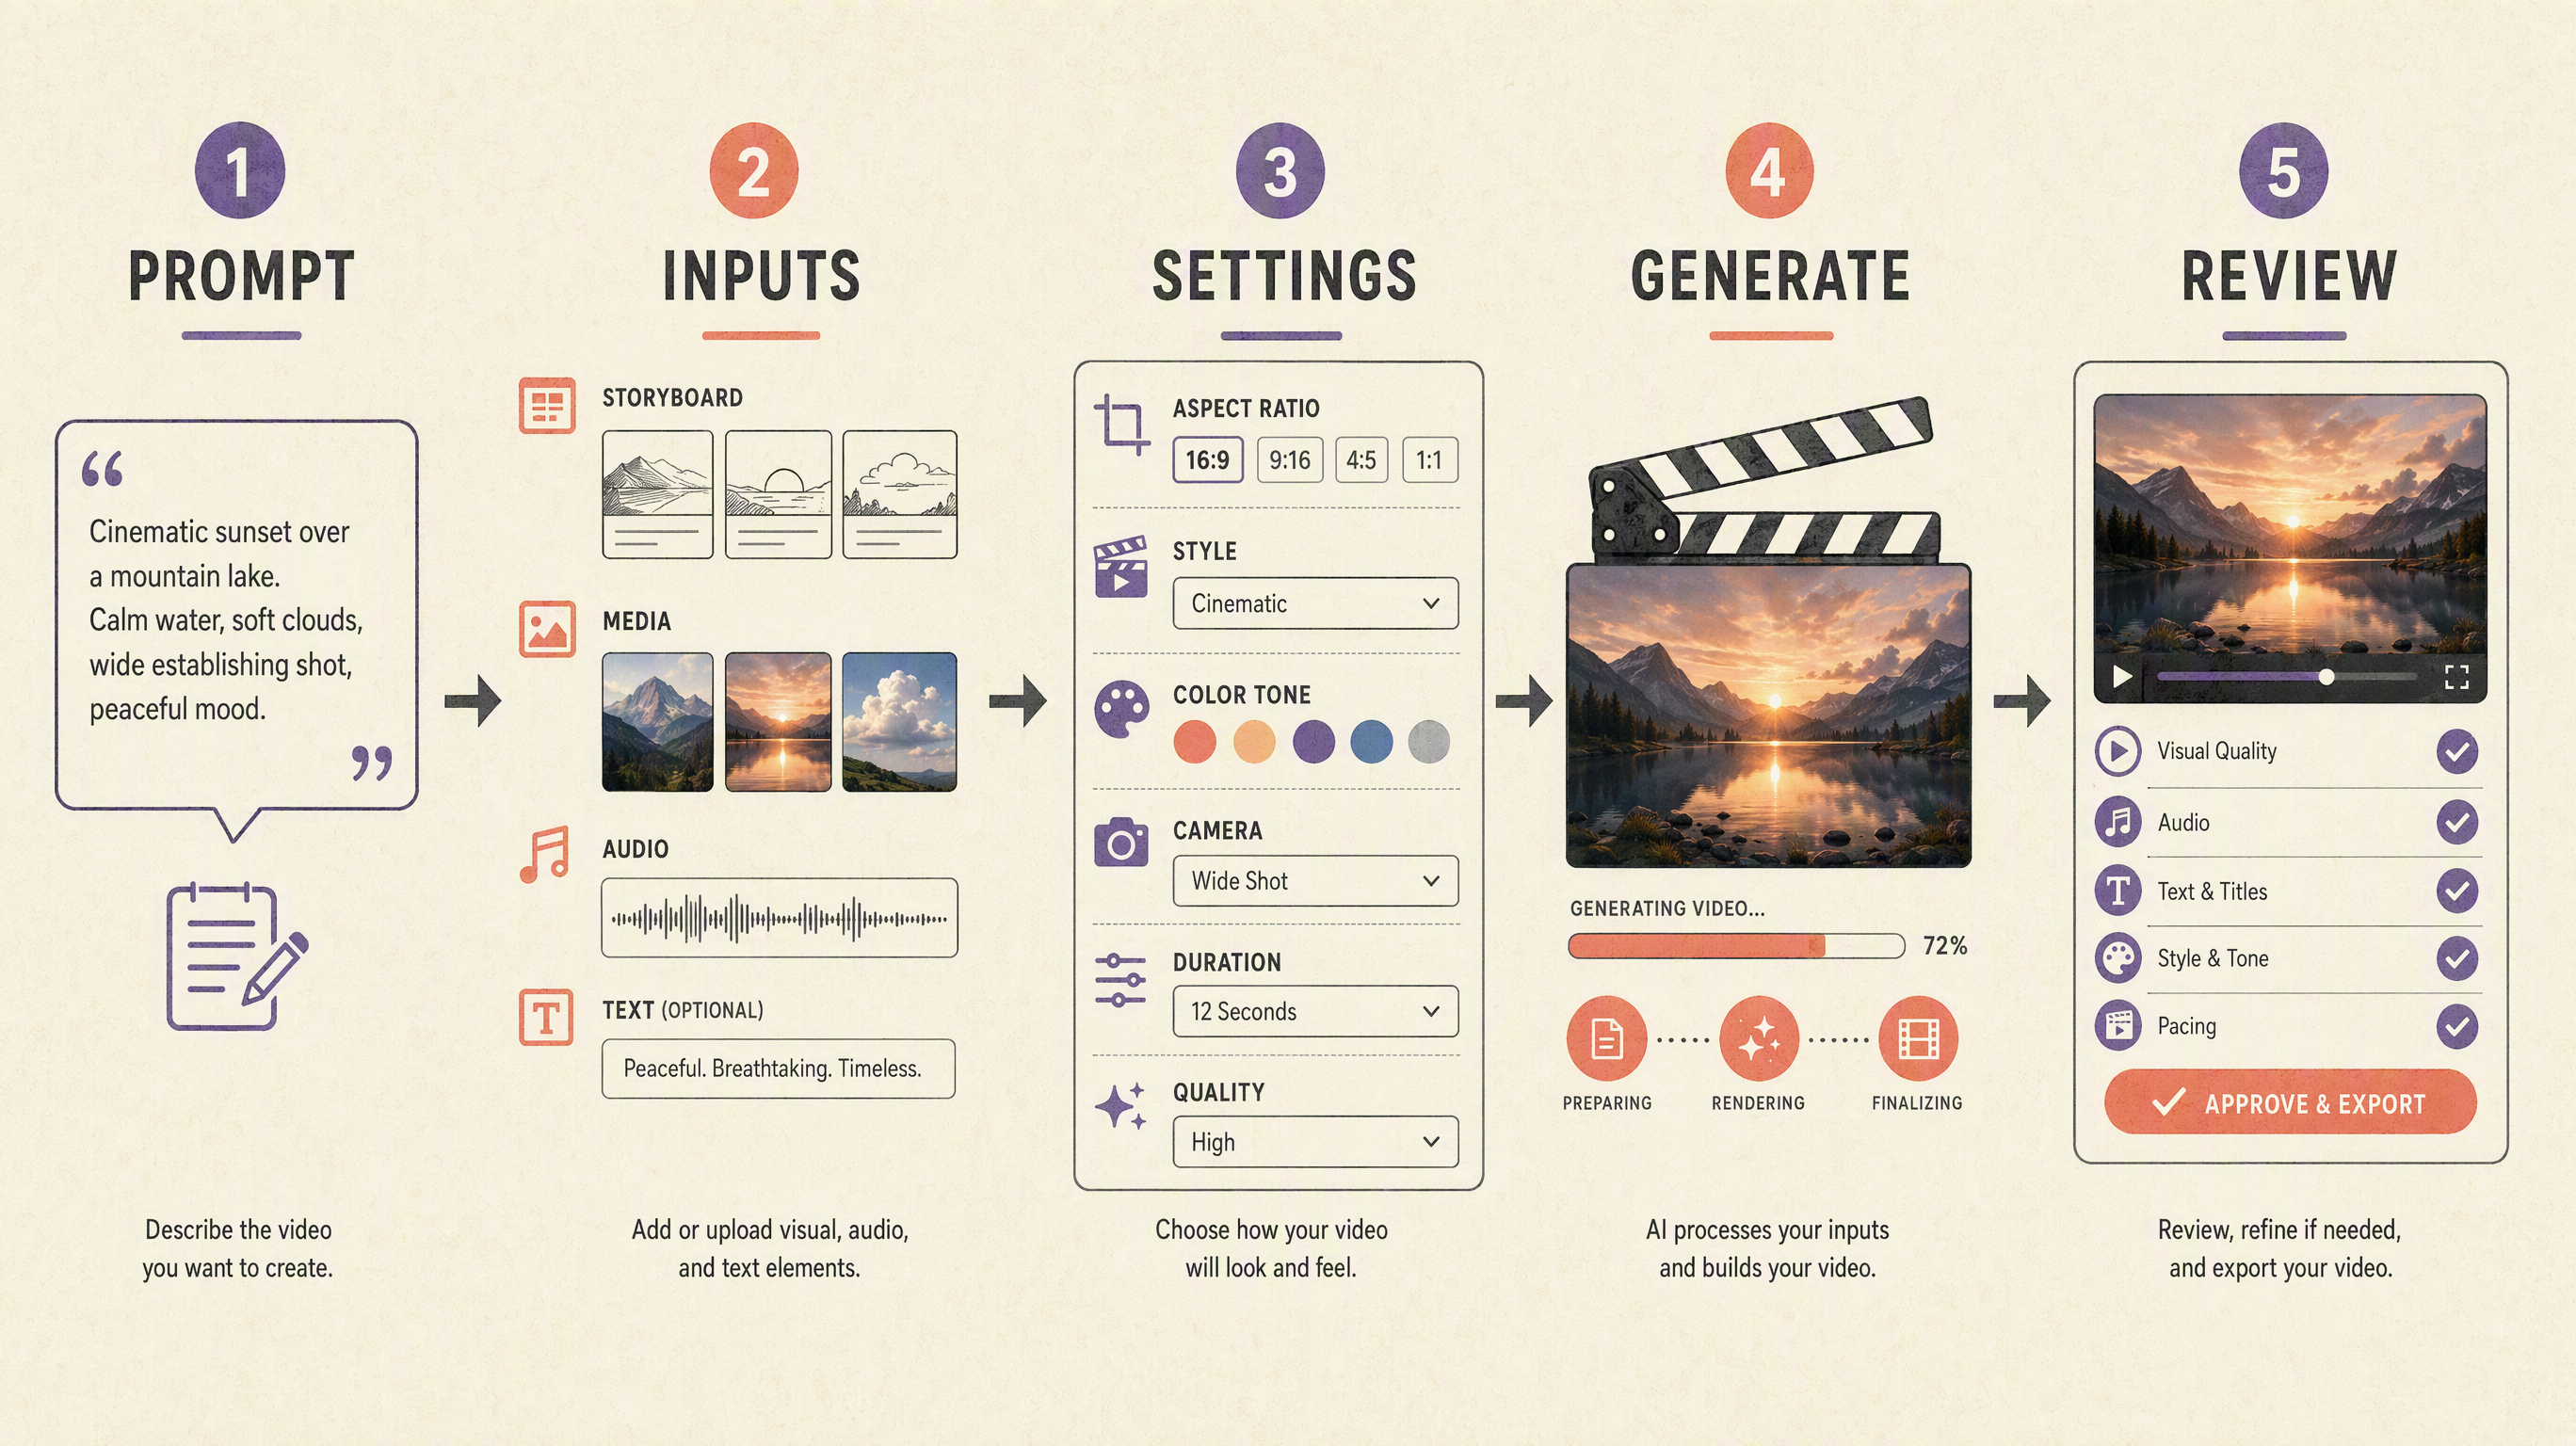
Open the image-to-video workspace and upload the first approved photo. Enter a movement prompt that refers to visible features only. Select the aspect ratio, duration, and output settings required for the current edit. Generate the clip, save the accepted result in the project folder, and move to the next photo.
Working one image at a time makes rejection easier. It also prevents a weak clip from hiding inside a large batch. Keep a small tracking table with the source filename, prompt version, result status, and rejection reason.
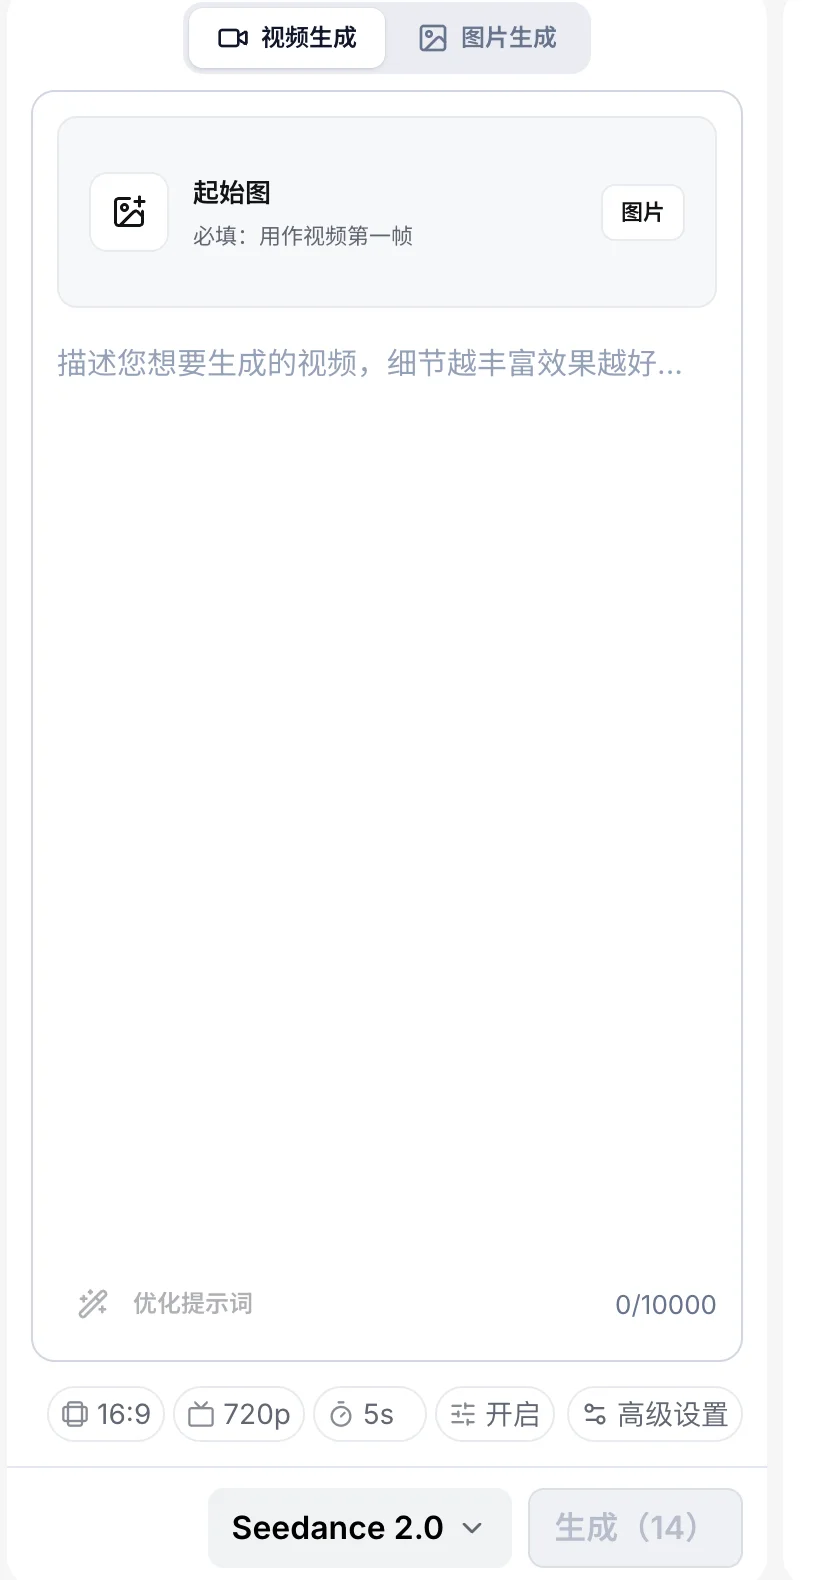
Current SeedVideo AI image-to-video workspace with the first-frame upload area, prompt field, format controls, output settings, and model selector.
If you are new to this workflow, the image-to-video guide explains source-image preparation, prompt structure, and iteration in more detail.
5. Reject clips that change the property
Watch each clip at normal speed, then scrub it frame by frame. Compare it with the source photo. A pleasant-looking clip can still be unusable if the model changes a feature buyers may rely on.
Reject the clip when you see:
- Windows, doors, or openings changing shape or position
- Walls, counters, railings, rooflines, or floors bending
- Furniture appearing, disappearing, or changing count
- Materials changing from wood to stone, carpet to hard flooring, or similar swaps
- Outdoor views, pools, landscaping, appliances, or fixtures being added
- Room dimensions or ceiling height becoming materially different
- Text, street numbers, artwork, or appliance controls turning into distracting artifacts
Small movement is not an excuse for small inaccuracies. If the altered detail could affect a buyer's impression, reject the clip. Try a shorter move, reduce camera speed, specify the fixed feature, or return to the still image in the edit.
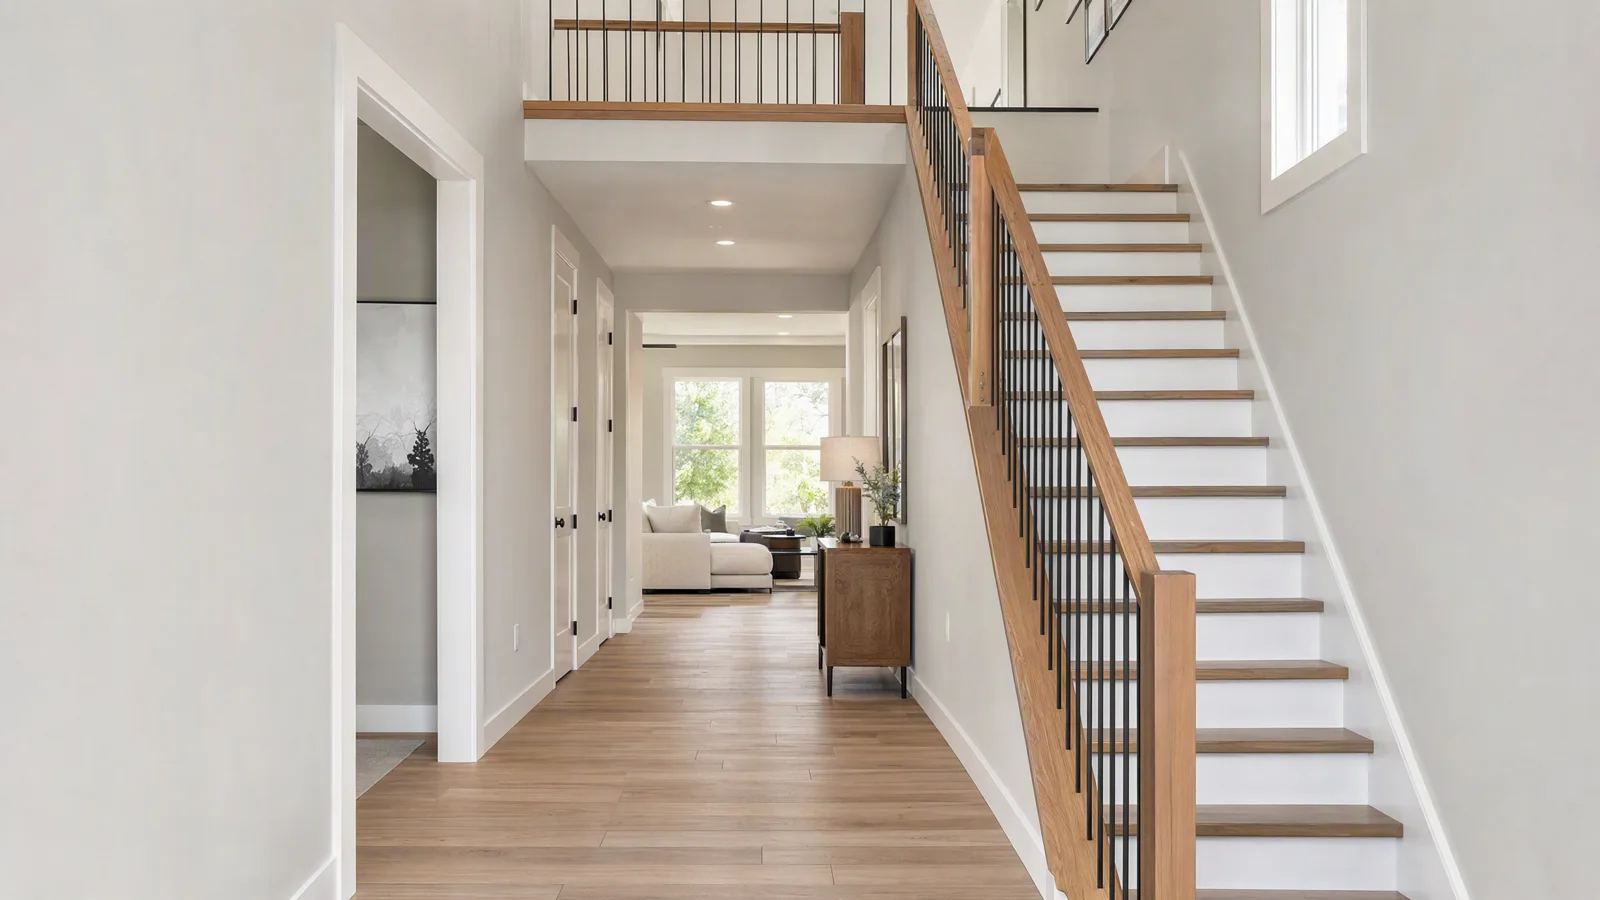
Video prompt: Preserve this fictional hallway and staircase exactly, including every door frame, stair tread, railing post, opening, floorboard, and window. Add a slow forward glide, keep the camera level, maintain the natural window light, and end before the staircase leaves the frame.
6. Edit a factual 30 to 45 second property story
Place the accepted clips on a timeline in the planned room order. Trim each shot to its cleanest two to five seconds. Let important rooms breathe, but do not stretch weak footage to hit a target duration. Straight cuts and short dissolves usually serve property tours better than elaborate transitions.
Use text sparingly. The address, price, area, room count, open-house time, and agent contact details must match the approved fact sheet. Avoid visual guesses such as "newly renovated," "unobstructed view," or "quiet neighborhood" unless the listing team has supplied and approved the claim.
Music should support the pace without competing with the property. Use a track covered by the intended channel and campaign. Keep a copy of the license or platform record with the project.
Build the horizontal master first
A 16:9 master works well for property pages, email landing pages, presentations, and many MLS-compatible video placements. Keep essential text away from the edges. Export a clean master before adapting it.
For 9:16, rebuild the framing shot by shot. Do not simply crop the horizontal timeline and assume every room remains readable. Shift the crop to protect doors, islands, windows, and other layout cues. Move text into the platform's safe zone, shorten long captions, and preview the cut with interface overlays enabled.
| Version | Typical use | Edit priority |
|---|---|---|
| 16:9 | Listing page, YouTube, email, presentation | Show room relationships and full-width architecture |
| 9:16 | Reels, Shorts, Stories, vertical ads | Protect the main feature and UI safe zones |
| 1:1 | Feed posts and some ads | Use fewer words and a centered subject |
7. Handle disclosure, rights, and commercial use
AI motion does not remove the team's duty to represent the listing accurately. Keep the original photos, prompt notes, accepted clips, rejected clips, and approval record. This gives the broker or marketing lead a clear review trail.
Disclosure requirements differ by location, listing platform, brokerage policy, and the kind of change shown. Synthetic camera motion applied to an accurate photo may be treated differently from virtual staging or material alteration. Ask the responsible broker or compliance reviewer how the final video should be labeled. If furniture, finishes, landscaping, views, or structural features have been changed, pause publication until the treatment and disclosure are approved.
Upload only photos, logos, music, and likenesses that the campaign has permission to use. If the video will advertise a listing or support client work, check the current plan and checkout terms for commercial-use rights. SeedVideo AI's pricing page explains that rights can vary by plan and billing option, so confirm the active terms before delivery.
This workflow supports production review. It does not replace brokerage, platform, or legal guidance.
Prompt templates for common listing shots
Exterior arrival
Preserve the exact facade, roofline, windows, driveway, landscaping, neighboring structures, and sky from the source photo. Add a slow push along the existing front path toward the entrance. Keep the camera level and the geometry fixed. Maintain the current golden-hour light. End on a stable view of the front door.
Living room
Preserve the room dimensions, window locations, fireplace, furniture, flooring, and outdoor view exactly as shown. Add a gentle left-to-right slide with very low speed. Keep vertical lines straight and maintain the existing daylight. Stop before any wall or window leaves the frame.
Kitchen
Preserve the cabinet count, island shape, countertop edges, appliances, lights, windows, and finishes. Add a slow push toward the island. Keep every surface and fixture unchanged. Maintain neutral daylight and finish with a clean steady frame.
Bedroom
Preserve the bed, windows, doors, ceiling height, floor, lighting, and visible view exactly as shown. Add a subtle depth shift with a very slow forward move. Keep the room proportions unchanged and end on a stable composition.
Patio or yard
Preserve the patio size, property boundary cues, landscaping, furniture, structures, and distant view exactly as shown. Add a gentle lateral reveal following the existing edge of the patio. Keep the horizon level, maintain the current weather and light, and do not reveal areas outside the source frame.
The Seedance 2.5 prompt guide can help you tighten subject, motion, camera, and continuity language when a first result is too loose.
Final quality-control checklist
Before publishing, review the master and every channel version:
- Every visual comes from an approved listing photo or a clearly approved marketing asset.
- The room order makes sense and does not imply a false connection.
- Walls, windows, doors, fixtures, finishes, views, and proportions match the source.
- All overlays match the approved listing record.
- The address, price, area, status, contact information, and dates are current.
- The vertical crop preserves the property feature shown in each shot.
- Music, photos, logos, and other assets have suitable rights.
- The broker or responsible reviewer has approved the video and disclosure treatment.
- The final file meets the destination's current format and upload rules.
FAQ
Can AI create a real estate video from listing photos?
Yes. Image-to-video tools can add camera and subject motion to still photos, and an editor can assemble the resulting clips into a property tour. The output still needs a frame-by-frame accuracy review because generated motion can change architectural details or materials.
How many photos do I need for a 30 to 45 second listing video?
Eight to twelve strong photos is a useful starting range. The right number depends on the property and the pace. Use fewer images when they explain the listing clearly. Do not add weak or uncertain photos just to extend the runtime.
What camera movement works best for property photos?
Slow pushes, short lateral slides, gentle pulls, and small depth shifts are usually easiest to control. Match the movement to the existing composition. Avoid instructions that reveal unseen areas or rotate far beyond the source frame.
Can I use AI to add furniture or improve a room?
That becomes virtual staging or material alteration rather than simple motion. It requires a different review and disclosure decision. Follow the listing platform, brokerage, and local requirements before publishing changed property imagery.
Should I put the price and square footage in the video?
Only when the values come from the current approved listing record. Build overlays from a fact sheet and verify them again before export, especially if the price or status may change during the campaign.
Do I need to disclose AI use in a listing video?
Requirements vary by location, platform, brokerage, and the type of synthetic change. Ask the responsible broker or compliance reviewer. Keep records of the source photos and edits so the decision can be reviewed.
Can I use the finished video commercially?
That depends on the rights attached to your photos, music, logos, likenesses, model output, and active service plan. Review the current product and checkout terms, then retain the relevant permissions with the project.
Turn accurate listing photos into a controlled video workflow
Open the SeedVideo AI image-to-video generator, start with one approved property photo, and prompt a single restrained movement. Accept only clips that preserve the listing exactly. Once the source, facts, rights, and disclosure decision are documented, the same master can support a property page, email campaign, and channel-specific social cuts.